Smallmouth Bass and the Round Goby
* This page contains affiliate links. The Great Lakes Fisherman may earn a commission on items purchased through these links. For more on this, please click here.
In general, invasive species are undesirable. They tend to have unexpected and often adverse effects on steady-state ecosystems. Because of the size of the recreational and commercial industries connected to the Great Lakes fishery, serious money is spent on preventing and/or controlling these invasions. But just because they are not desirable, doesn’t mean that they don’t bring some benefits. Here, we’ll discuss the impact the round goby has had on the smallmouth bass in the Great Lakes.
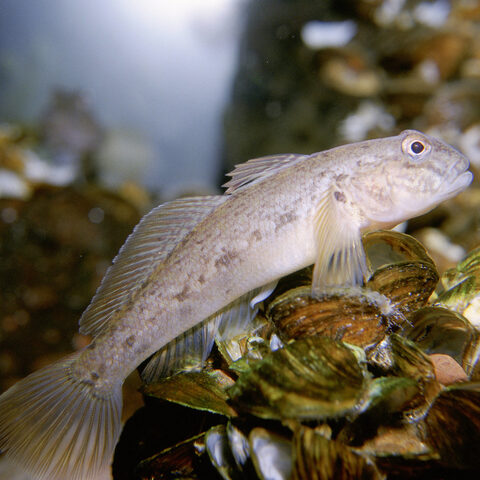
The round goby is believed to have been first introduced to the Great Lakes in 1990 via the dumping of ship ballast water. The fish quickly spread throughout the lakes following their introduction. By the early 2000’s, these fish blanketed the lake bottom in many areas. In a study published by the Journal of Great Lakes Research (Volume 31, Issue 1, 2005, Pages 78-86), it was estimated that in 2002, there were ~9.9 billion gobies in the western basin of Lake Erie alone. This type of proliferation is bound to have major impacts on an ecosystem.
The goby is a voracious feeder that loves mussels, small fish and worst of all for fisherman, fish eggs. Furthermore, it tends to dominate the spawning grounds of other fish species. Because of this dominance, the reproduction rates of native species often suffer.
As with any change to the steady state of a biosphere, it took some time for the established members of the Great Lakes fish population to come to terms with its newest resident. But eventually, some of them became quite fond of the goby. And for smallmouth bass, the relationship has blossomed into a thing of beauty. Well, at least for the bass.
According to another study published in 2016 by the Journal of Great Lakes Research (Volume 42, Issue 2), the goby had become the top food choice of the smallmouth bass in waters of the eastern end of Lake Erie. Furthermore, the study found that the bass had increased in size after switching over to the goby-dominated diet. Still not convinced? Just ask any bass fisherman that has fished the lakes for the last 20 years and they will tell you that the smallmouth are larger and more plentiful than ever.
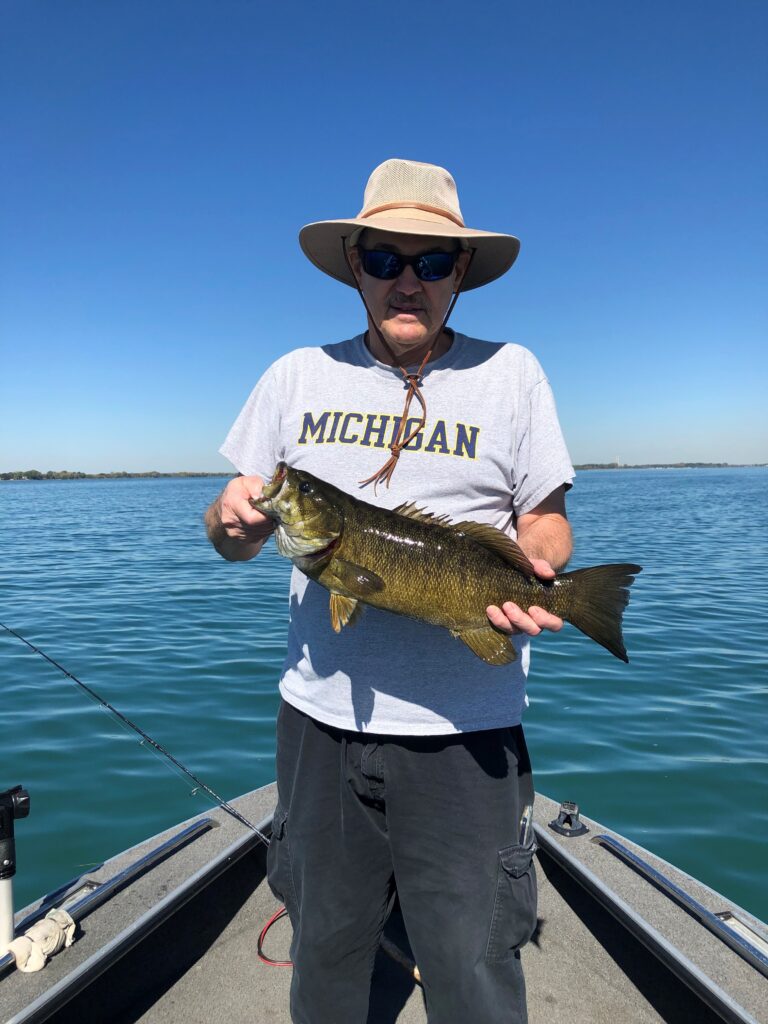
It should be no surprise therefore, that in October of 2022, a new Great Lakes smallmouth bass record was set on Lake Erie. The new record of 10.15 lb shattered the previous record of 9 lb, 8 oz that was set in 1993. Once certified, this will also likely be a record for the Province of Ontario (current record: 9 lb, 13 oz). Furthermore, this fish was less than 2 lbs. shy of the current world record set in 1955 on Dale Hollow Reservoir of 11 lb-15oz.
In the grand scheme of things, this Great Lakes record fish comes early-on in the post-goby introduction era. In addition, modern technology, such as live sonar, has made identifying and targeting individual fish a
new phenomenon. What does all of this mean? It means that more than likely, this Great Lakes record will be broken again in the within next decade and that there is a real possibility of a new world record smallmouth bass coming from Lake Erie in the next couple of decades.
For those new to bass fishing and wanting to give it a try, common techniques include casting suspended jerk baits and tube baits which imitate crayfish and gobies. This is where the smallmouth will cruise in search of a meal. The presentation of jerk-baits and tubes are very similar. Twitch the bait near or along the bottom to elicit a strike from a hungry bass. Look for areas with structure, especially in areas 10-20 ft deep with a rocky or gravelly bottom. This is where the gobies like to hang out and where you are the most likely to find hungry bass.
The goby has become such a common part of the smallmouth diet, that there is now even a market for goby-style fishing lures. These are available in soft plastic varieties such as the WildEye Live Goby (includes hook) and the Ultra Realistic Design Goby Paddletail (plastic only). This is a testament to just how much of a staple the goby has become for the bass.
The studies and data all seem to indicate that there is likely a world record lurking in the depths of Lake Erie, waiting for a lucky angler to find it. Since it appears that the goby are here to stay, why not grab your favorite bass fishing rod and hit the big lakes for a chance at world record fame?
How to Catch Yellow Perch on the Great Lakes
* This page contains affiliate links. The Great Lakes Fisherman may earn a commission on items purchased through these links. For more on this, please click here.
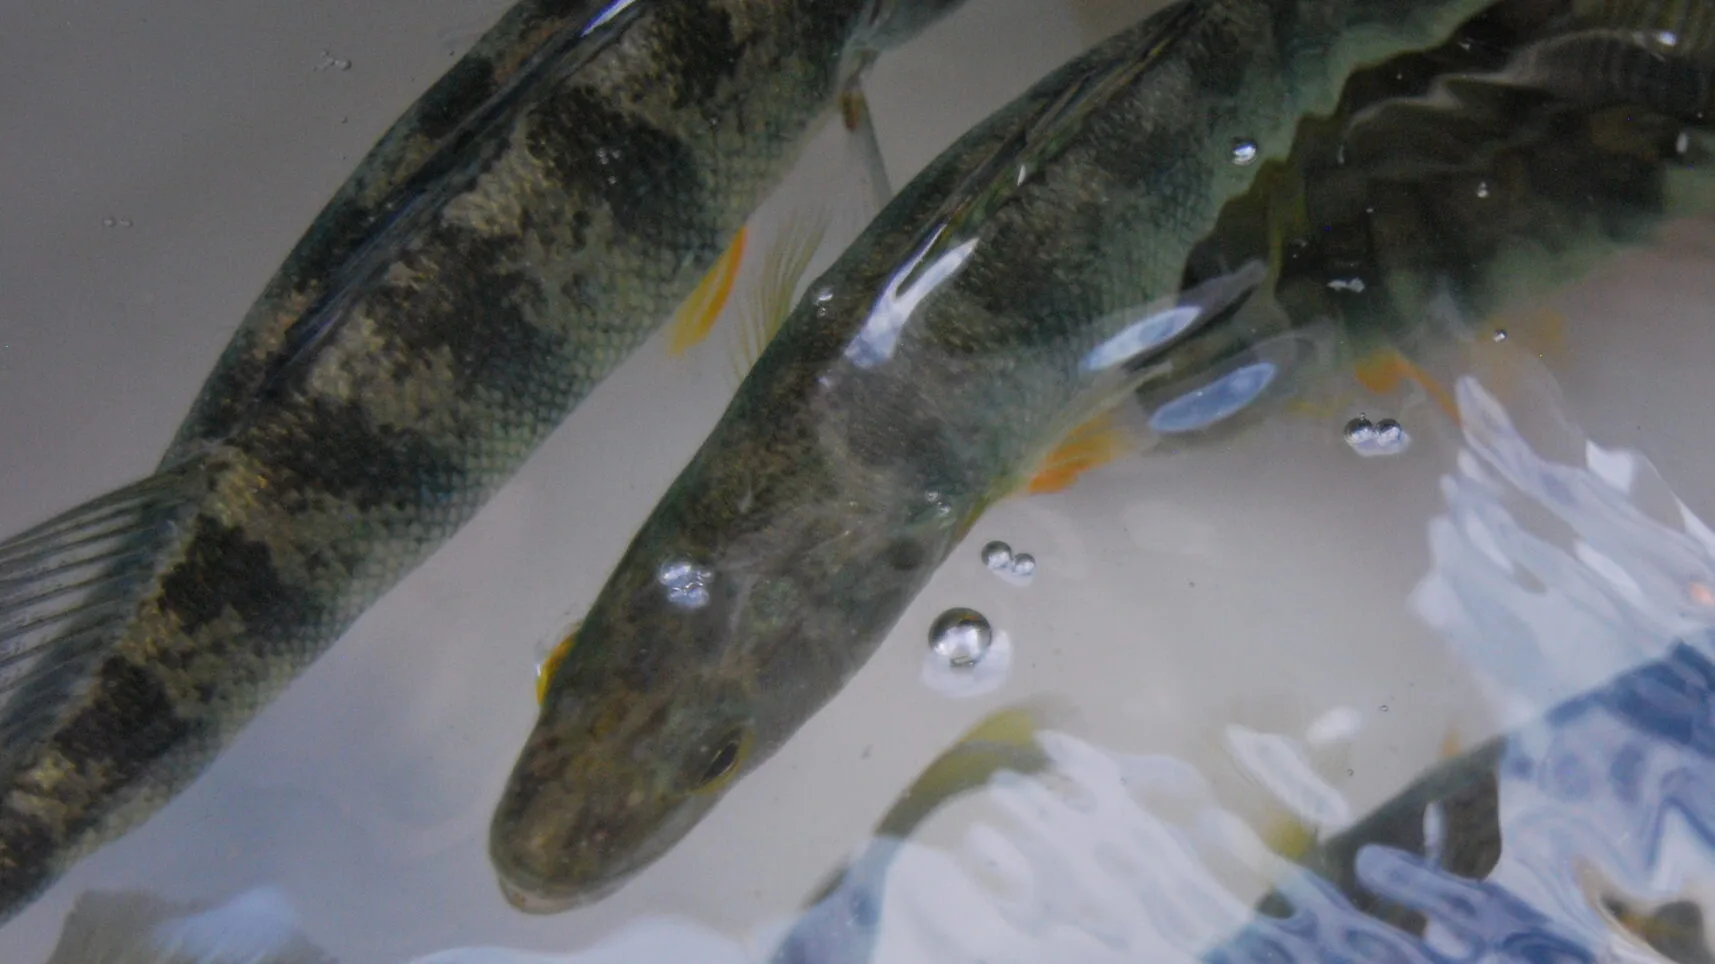
Yellow Perch (Perca flavescens) are a favorite table fare of fish connoisseurs. Their mild taste and firm texture make them perfect for cooking just about any way you’d like. They are also a great fish to target for families. This is because the action can often be fast and furious, leaving little time for boredom for the younger or less serious anglers. Lucky for anglers in the Midwest, they are also one of the most abundant game fish in the Great Lakes and can be caught year round. But how do you go about finding and catching these tasty critters? Here, we will discuss how to catch yellow perch on the Great Lakes.
The Gear
Perch fishing doesn’t require a lot of fancy equipment. A simple spinning rod and reel will do in most cases. However, the guide below will provide you with the detail necessary to put more fish in the cooler.
The Rod
A medium-light to medium action, 5.5′-7.5′ spinning rod with an appropriately paired spinning reel will work just fine for most perch fishing in waters up to 30′ deep. When the fish get deeper than 30′, the bite will be harder and harder to detect, prompting many to switch to longer, more sensitive rods. Some perch fisherman use rods as long as 10′ or more in deep water. This is because the tip movement is more pronounced on these rods, making the bite easier to detect.
The Line
Perch are not line shy. This means that generally speaking, any type of fishing line will work. That doesn’t mean that some lines aren’t better than others. Each type of fishing line will stretch to a different degree and too much line stretch make a perch bite harder to detect. In shallower waters, monofilament and flourocarbon work great. However, both of these lines have some stretch and when the bite is light or when fishing in deep water, the less stretch the better. In these situations, braided line works best as it has virtually no stretch and will pick up the slightest bump on the line. This telegraphs a bite very well in deep water. If you are concerned about line visibility, you can always add a flourocarbon leader to your braided line before tying on the perch rig.
The Rig and Bait
The most common bait used for catching yellow perch is live minnows. These are placed on hooks that are attached to a weighted line (be sure to check local fishing regulations for information on the number of hooks allowed per line in your jurisdiction). For beginning perch anglers, a “perch spreader” or “perch rig” can be purchased online or at your local great lakes tackle shop. These provide the entire setup needed with the exception of the bell sinker. These rigs involve arms with hooks that are cantilevered off of the main line. They are not expensive, going for just a few dollars each. (Tip: Hooking the minnow through the bottom jaw and nose will allow it to swim more freely and not die as quickly.)
When using these rigs, simply tie the top of the rig to your main line (some have pre-tied loops or swivels for easier attachment. Then just add a bell sinker to the bottom of the rig. For the bell sinker, choose the lightest weight that will ensure that the rig stays on the bottom. This will be dictated by depth, water current and wind/wave conditions. Bell sinkers from 1/2 oz to 1 oz are the most common.
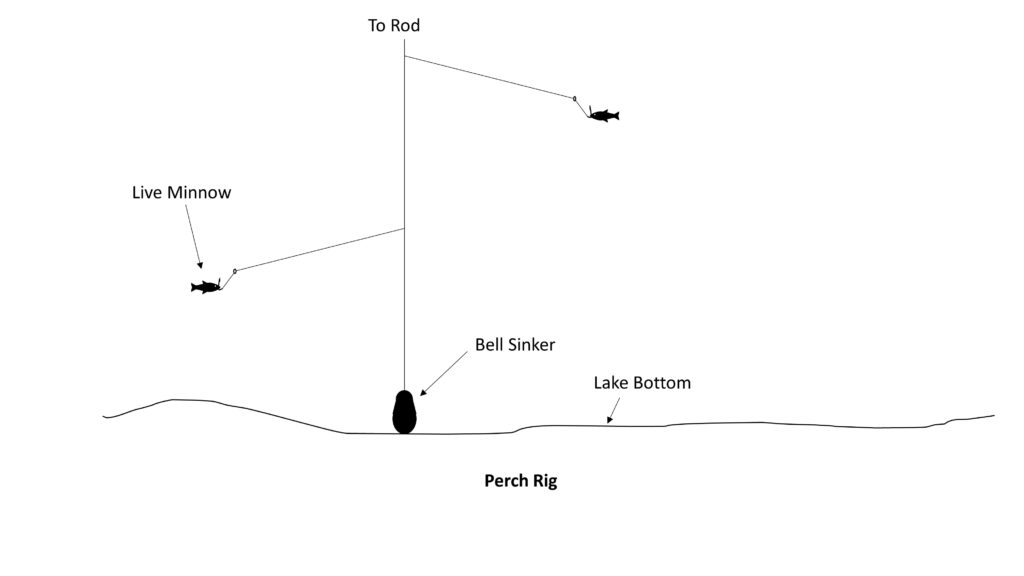
[ADDED 2/10/23: For an easy, do-it-yourself version of the perch rig, check out this video. We actually prefer these to the store-bought version as we find them more versatile, cheaper and more sensitive to the bite. If, after watching the video, you have any questions on how to tie these up, please drop us an email and we’d be happy to help.]
Locating Yellow Perch
Great Lakes perch tend to spend their time close to the lake bottoms in waters that are less than 30 feet deep, although they can be found in depths of up to 100 feet or more. They wander in schools foraging for food while finding safety in numbers. To find out where there are fishable numbers, simply follow these three steps.
Step 1: Check Fishing Reports to Find Which Ports in Your Area Have Active Fish
The best way to locate the general areas of the lakes that have an active perch bite is to browse local fishing reports. Schools of perch tend to be found in certain waters in different times of the year. Like many fish, perch tend to spend the hot summer months in deeper water than during the cooler months. Fall, winter and spring they can often be found in shallower water near weed beds. Checking local reports will give you the best indication of which port(s) to focus on at the time you plan to fish.
Step 2: Look for Clusters of Anchored Boats
Step one has given you a lead on a port to launch from. But the Great Lakes are huge and your work is not done yet. Once you are out on the lake, look for clusters of boats that appear to be anchored. Most people catch perch by anchoring their boats and fishing over individual schools. By locating a cluster of anchored boats, you are giving yourself a head start on locating some hungry fish. This doesn’t mean that this is the only place you’ll find perch. But it certainly can help quicken the search.
Step 3: Use Your Sonar to Locate Individual Schools of Fish
Whether or not you were able to find a boat cluster, this step is critical to finding fish. Most modern sonar units are sensitive enough to mark fish on or near the bottom. What you are looking for are small separations from the bottom. For this, it is recommended to not rely on your fish-finder’s fish alarms or symbols, but instead, decipher the marks yourself. When you start seeing a lot of small squiggly marks or arches right near the bottom, you have likely located a school of perch.
Catching Yellow Perch
Now that you are rigged up, it’s time to catch some perch. Anchoring the boat is the most common way to fish for perch because the schools are typically large enough to keep you busy in one location. There are anglers who will drift for perch to locate them. This is actually a common practice in areas of the Great Lakes where the schools are more scattered and weeds are not prevalent enough to become a snag nuisance. Nonetheless, most fisherman will anchor.
Once you have located a school of fish on the sonar, pull your boat directly upwind from that spot by the same distance that you expect your anchor line to take up. For example, if you are fishing in 20′ of water and based on the wind, you expect to need 100′ of anchor rope to hold you, pull your boat about 100′ upwind from the spot you marked the school. From there let out your anchor rope and watch your sonar. Once you have let out enough rope to hold the boat, continue letting out additional rope until you see the fish re-appear on your sonar. While it may sound difficult to do, you will typically have a lot of leeway as the schools tend to be quite large. Once the boat is anchored over the school, it’s time to drop lines!
Drop the weighted rig into the water and let out line until it stops pulling line off of the reel. This indicates that the weight has hit the bottom. Next, reel up the slack line until the line is just tight, but DO NOT pull the weight off of the bottom. Hold the rod to where the line is tight but the rod tip is not loaded or bent. This is the perfect position for feeling a bite. If the rod is loading up there, is a good chance that you are actually lifting the weight off of the bottom, lessening the chances of a bite. If your line is slack, you will often not feel the bite or feel it after the fish has completely swallowed the hook.
Once your line is set, just hold the rod still and watch the tip of the rod. If the bite is heavy, you will likely see the rod tip move and feel the bite through the rod. If it is very light, you may only notice a slight deviation in the rod tip and not feel anything at all. Either way, once you detect the bite, pull up swiftly by pivoting your wrist back towards you while lifting your arm upwards. This combined action will set the hook the fastest and will increase the number of hook-ups. Once the hook is set, simply reel in dinner. As always, be sure to check your regulations for creel limits.
Southern Fried Fish
* This page contains affiliate links. The Great Lakes Fisherman may earn a commission on items purchased through these links. For more on this, please click here.
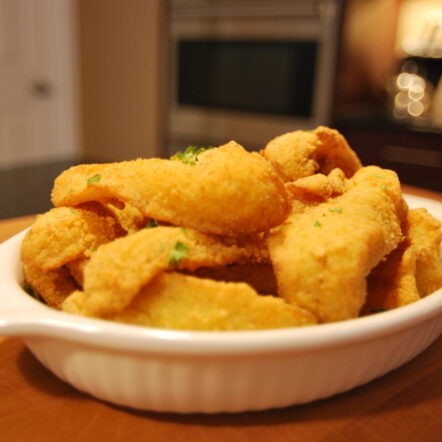
What makes southern fried fish different from any other? It’s the cornmeal base for the breading. Traditional for fried catfish, this breading works well with just about any fish that you would fry. The key to this recipe (or any fried food) is to maintain the oil temps between 300-350 during the cooking process.
Recipe
Serves: 2-4 Prep Time: 30 min. Cook Time: 15 min.
Ingredients
- 1 lb. boneless fish fillets
- Dry breading mix (You can use a ready-made mix like Lousiana Fish Fry New Orleans Style or you can follow the recipe below).
- 1 cup of milk
- 1 egg
Dry Breading Mix
- 1 cup of cornflour or cornmeal
- 1 tbsp. cajun/creole seasoning
Directions
Prepare the fillets by ensuring all bones have been removed. Leaving the skin on is optional, but I prefer it removed. If using large fillets (like walleye), cut them into serving sized pieces. Pat fish dry.
In a bowl, whisk 1 egg with a cup of milk. In a separate bowl, combine the seasoning with the cornflour/cornmeal.
Fill a cast iron skillet or deep fryer with enough peanut oil to fry. For cast iron, 1/2″ of oil does the trick. For a deep fryer, follow the directions for your fryer for appropriate fill level. Pre-heat the oil to 350 degrees. It is important not to heat above this as the oil will begin to breakdown. This will cause an off-taste in the fish as well as put bad chemicals into your body.
Dip each piece of fish in the egg/milk mixture, then in the dry corn flour mixture. Place in the hot oil.
Fry the fish in small enough batches so that the oil temp doesn’t drop below 300. If the temp drops much below this, the fillets will start to soak up the oil.
Fry each batch until golden brown. As long as the oil temp stays in range, this should only take 3-4 minutes in a deep fryer and 2-3 minutes per side in a frying pan.
Remove the fillets to a paper towel lined plate to remove the excess oil. Lightly salt immediately so the salt will stick.
As long as you didn’t burn the cooking oil it can be filtered and reused.
Bottom-Bouncing for Walleye on Lake Erie
* This page contains affiliate links. The Great Lakes Fisherman may earn a commission on items purchased through these links. For more on this, please click here.
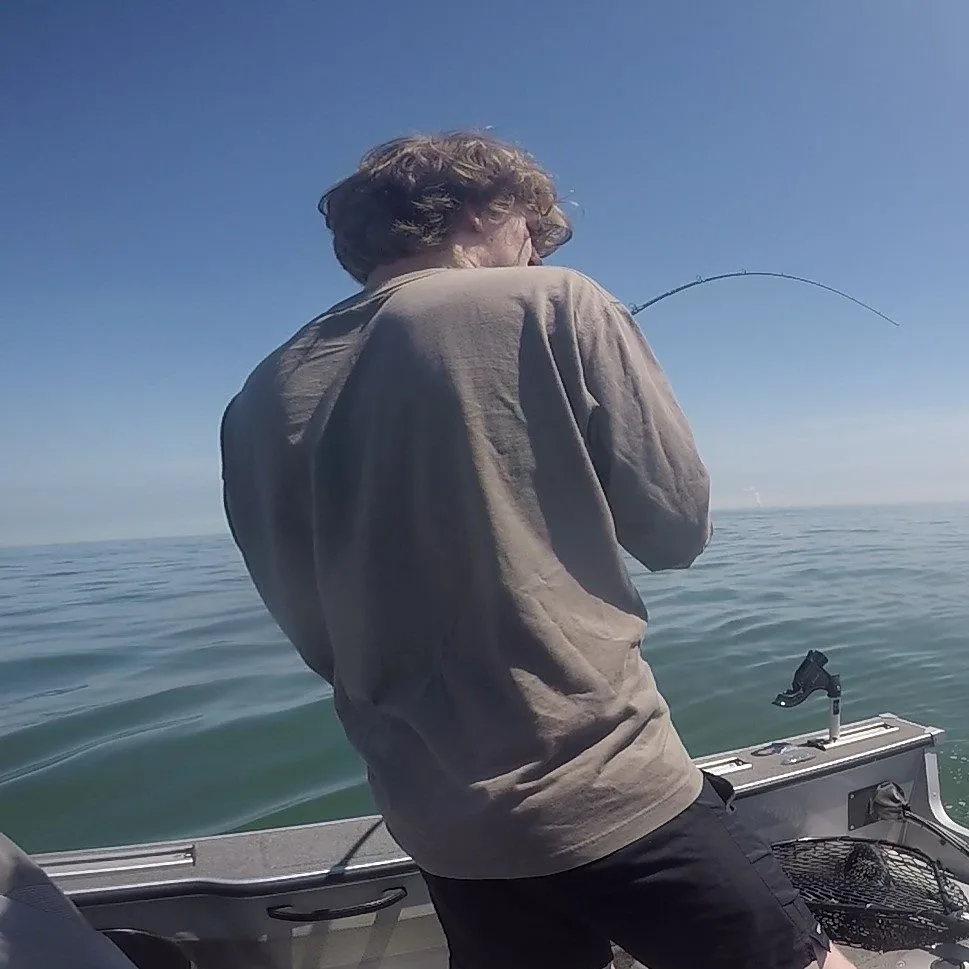
Bottom-bouncing for walleye can be one of the most productive way to catch these tasty fish. It can also be one of the most fun. This is because you need not worry about boat direction or running into other boats. Once everything is set up, it’s simply a matter of keeping the rods clear of weeds and catching fish! But it wasn’t always this way.
Having fished the Michigan waters of Lake Erie from the time I was 10, I have seen many changes to the lake. At one time, the lake was very murky with a visibility of only a foot or so. This low-light environment was perfect for holding walleye in the western basin. Trolling Hot-N-Tots, especially chartreuse, was the method of choice back then and spreading them out on planer boards almost assured success.
Since then, zebra and quaga mussels have cleaned up the lake water tremendously. This has changed the low-light environment under the water, driving the fish deeper in the shallow waters of the western basin. Because of this, newer tactics have been tested over the years and one of them, bottom-bouncing, has become a new favorite of many.
What is Bottom-Bouncing?
Bottom-bouncing is exactly what it sounds like – bouncing a moving bait off the bottom of the lake bed to attract bottom-dwelling walleye. In order for this to work properly, the wind and waves need to be high enough to depart action to the bait. If the waves are at least a foot in height, this tactic should work just fine. The technique is similar to jigging, in that the rig bounces up and down off of the lake bottom. The main difference is that in bottom-bouncing, the rods are typically placed in rod holders and you are letting boat and wave action do the work for you.
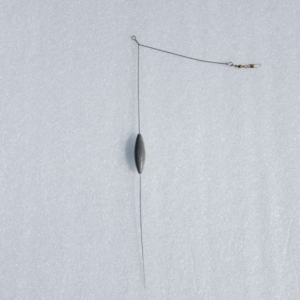
The basic set-up for bottom-bouncing consists of a bottom-bouncer tied to the main line, with a bait trailing behind it.
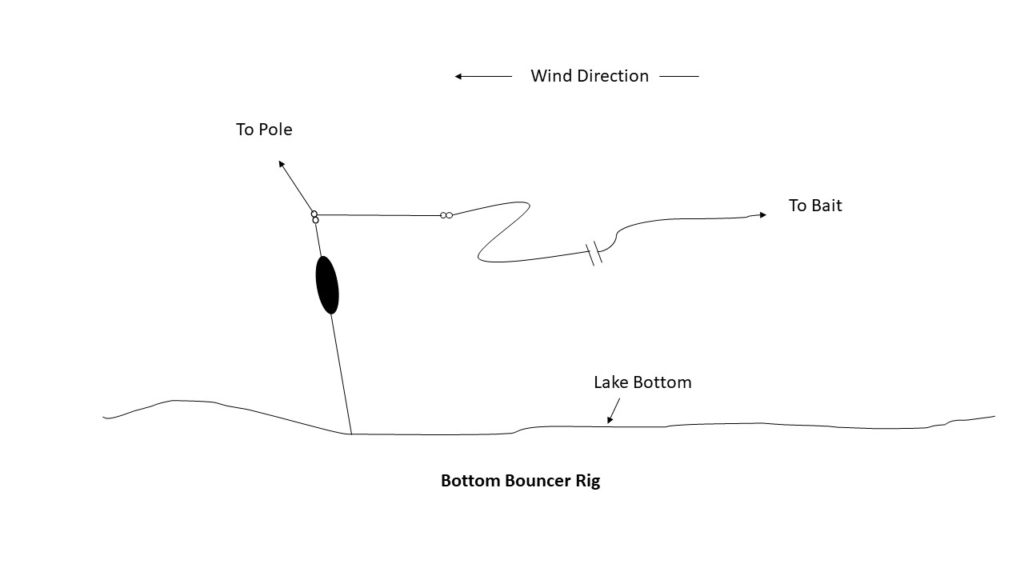
The weight is let down to the lake or river bottom and the line is adjusted so that the weight bounces off of the bottom with the wave action. The key to bottom bouncing is getting the right speed and action on the bait by adjusting the boat movement, weight of the bottom bounder and line angle to the water.
The Rods
The rods used for bottom bouncing need to have a stiff enough tip to handle the weight. The tip of the rod will tell you whether or not you are bouncing on the bottom. When a wave crest hits the boat, you want to see the rod tip load up and then abruptly unload as it lifts the weight/bait off of the bottom. Likewise as the boat falls into the wave trough, the rod tip should abruptly straighten, indicating that the weight has hit bottom. You can take in or let out more line to get this action just right. I have found that medium-action trolling rods for walleye work just fine for bottom bouncing. Ideally, the rods are placed in rod holders to keep the action consistent. This also allows you to use as many rods as you legally can, as long as your boat can accommodate them all.
The Bait
When it comes to the bait, most trolling baits will work. The bait of choice on the western basin of Lake Erie, however, is a nightcrawler harness rigged with a live nightcrawler. The bait can trail anywhere from 2-10 feet behind the bottom bouncer. This distance depends on how much action you want the harness to have. The shorter the lead is, the more action the bouncer will depart to the weight.
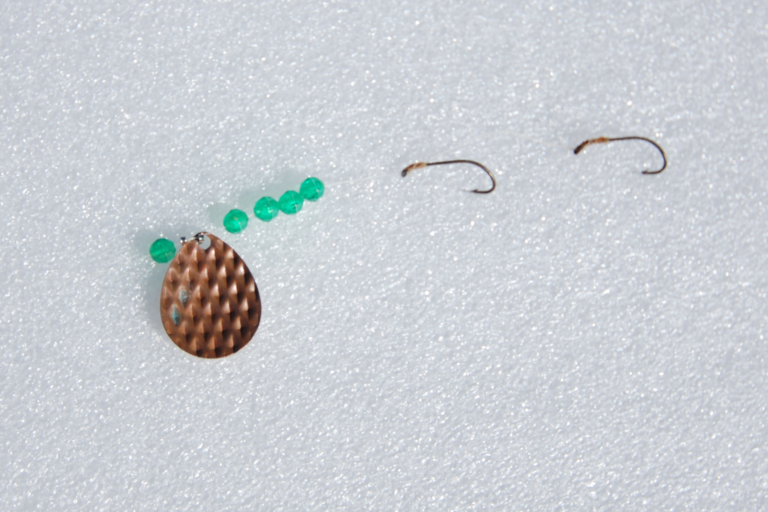
Walleye tend to school so once you’ve found some fish you can experiment with bait styles and colors until you find the combination of choice. This can vary day to day and sometimes even within the same day so don’t be afraid to change things up when the fish stop biting.
Speed
The best days are when the wind is blowing your boat in the 1-2 mph range. When this is the case, you likely won’t need any help from your boats motors or drift socks to dial in your speed because mother nature has done that work for you. However, not everyday is perfect and you may need a drift sock to slow you down a bit. If your drift speed is on the higher end, you also may need to use a heavier bottom bouncer to get the bait down to maintain good action. Likewise, if your rod bends too much prior to lifting the rig off of the bottom, you may want to go to a lighter bottom bouncer. A bit of wind and waves is essential and if the wind isn’t very strong (a rare day on Lake Erie) and you’re not going fast enough, it may be time to give up on bottom bouncing and start trolling.
Rod Placement
Each boat is different in terms of how it reacts to the waves and wind and how it is setup with rod holders. What works for one boat, might not be the winning recipe for another. The bottom line is that you want the baits to get the action you are looking for, while maximizing the number of lines in the water. For my 18′ boat, I like to turn the engine to one side. This will ensure that the boat turns to one side, allowing me to place rod holders along one side of the boat and off the back corners. With this setup, I can bounce 6-8 rods at a time.
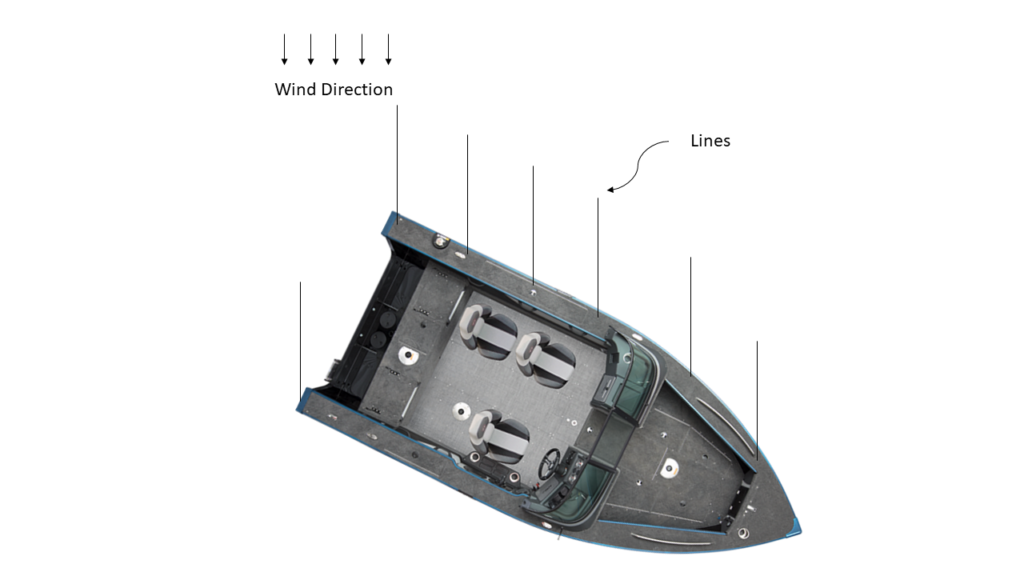
One of the best things about bottom bouncing is that once you get your lines set, it can be quite a relaxing way to fish. No boat to steer, no engine noise and no worries about line tangles. Just grab your favorite drink, sit back and wait for the bite!
How to Locate Crappies
* This page contains affiliate links. The Great Lakes Fisherman may earn a commission on items purchased through these links. For more on this, please click here.
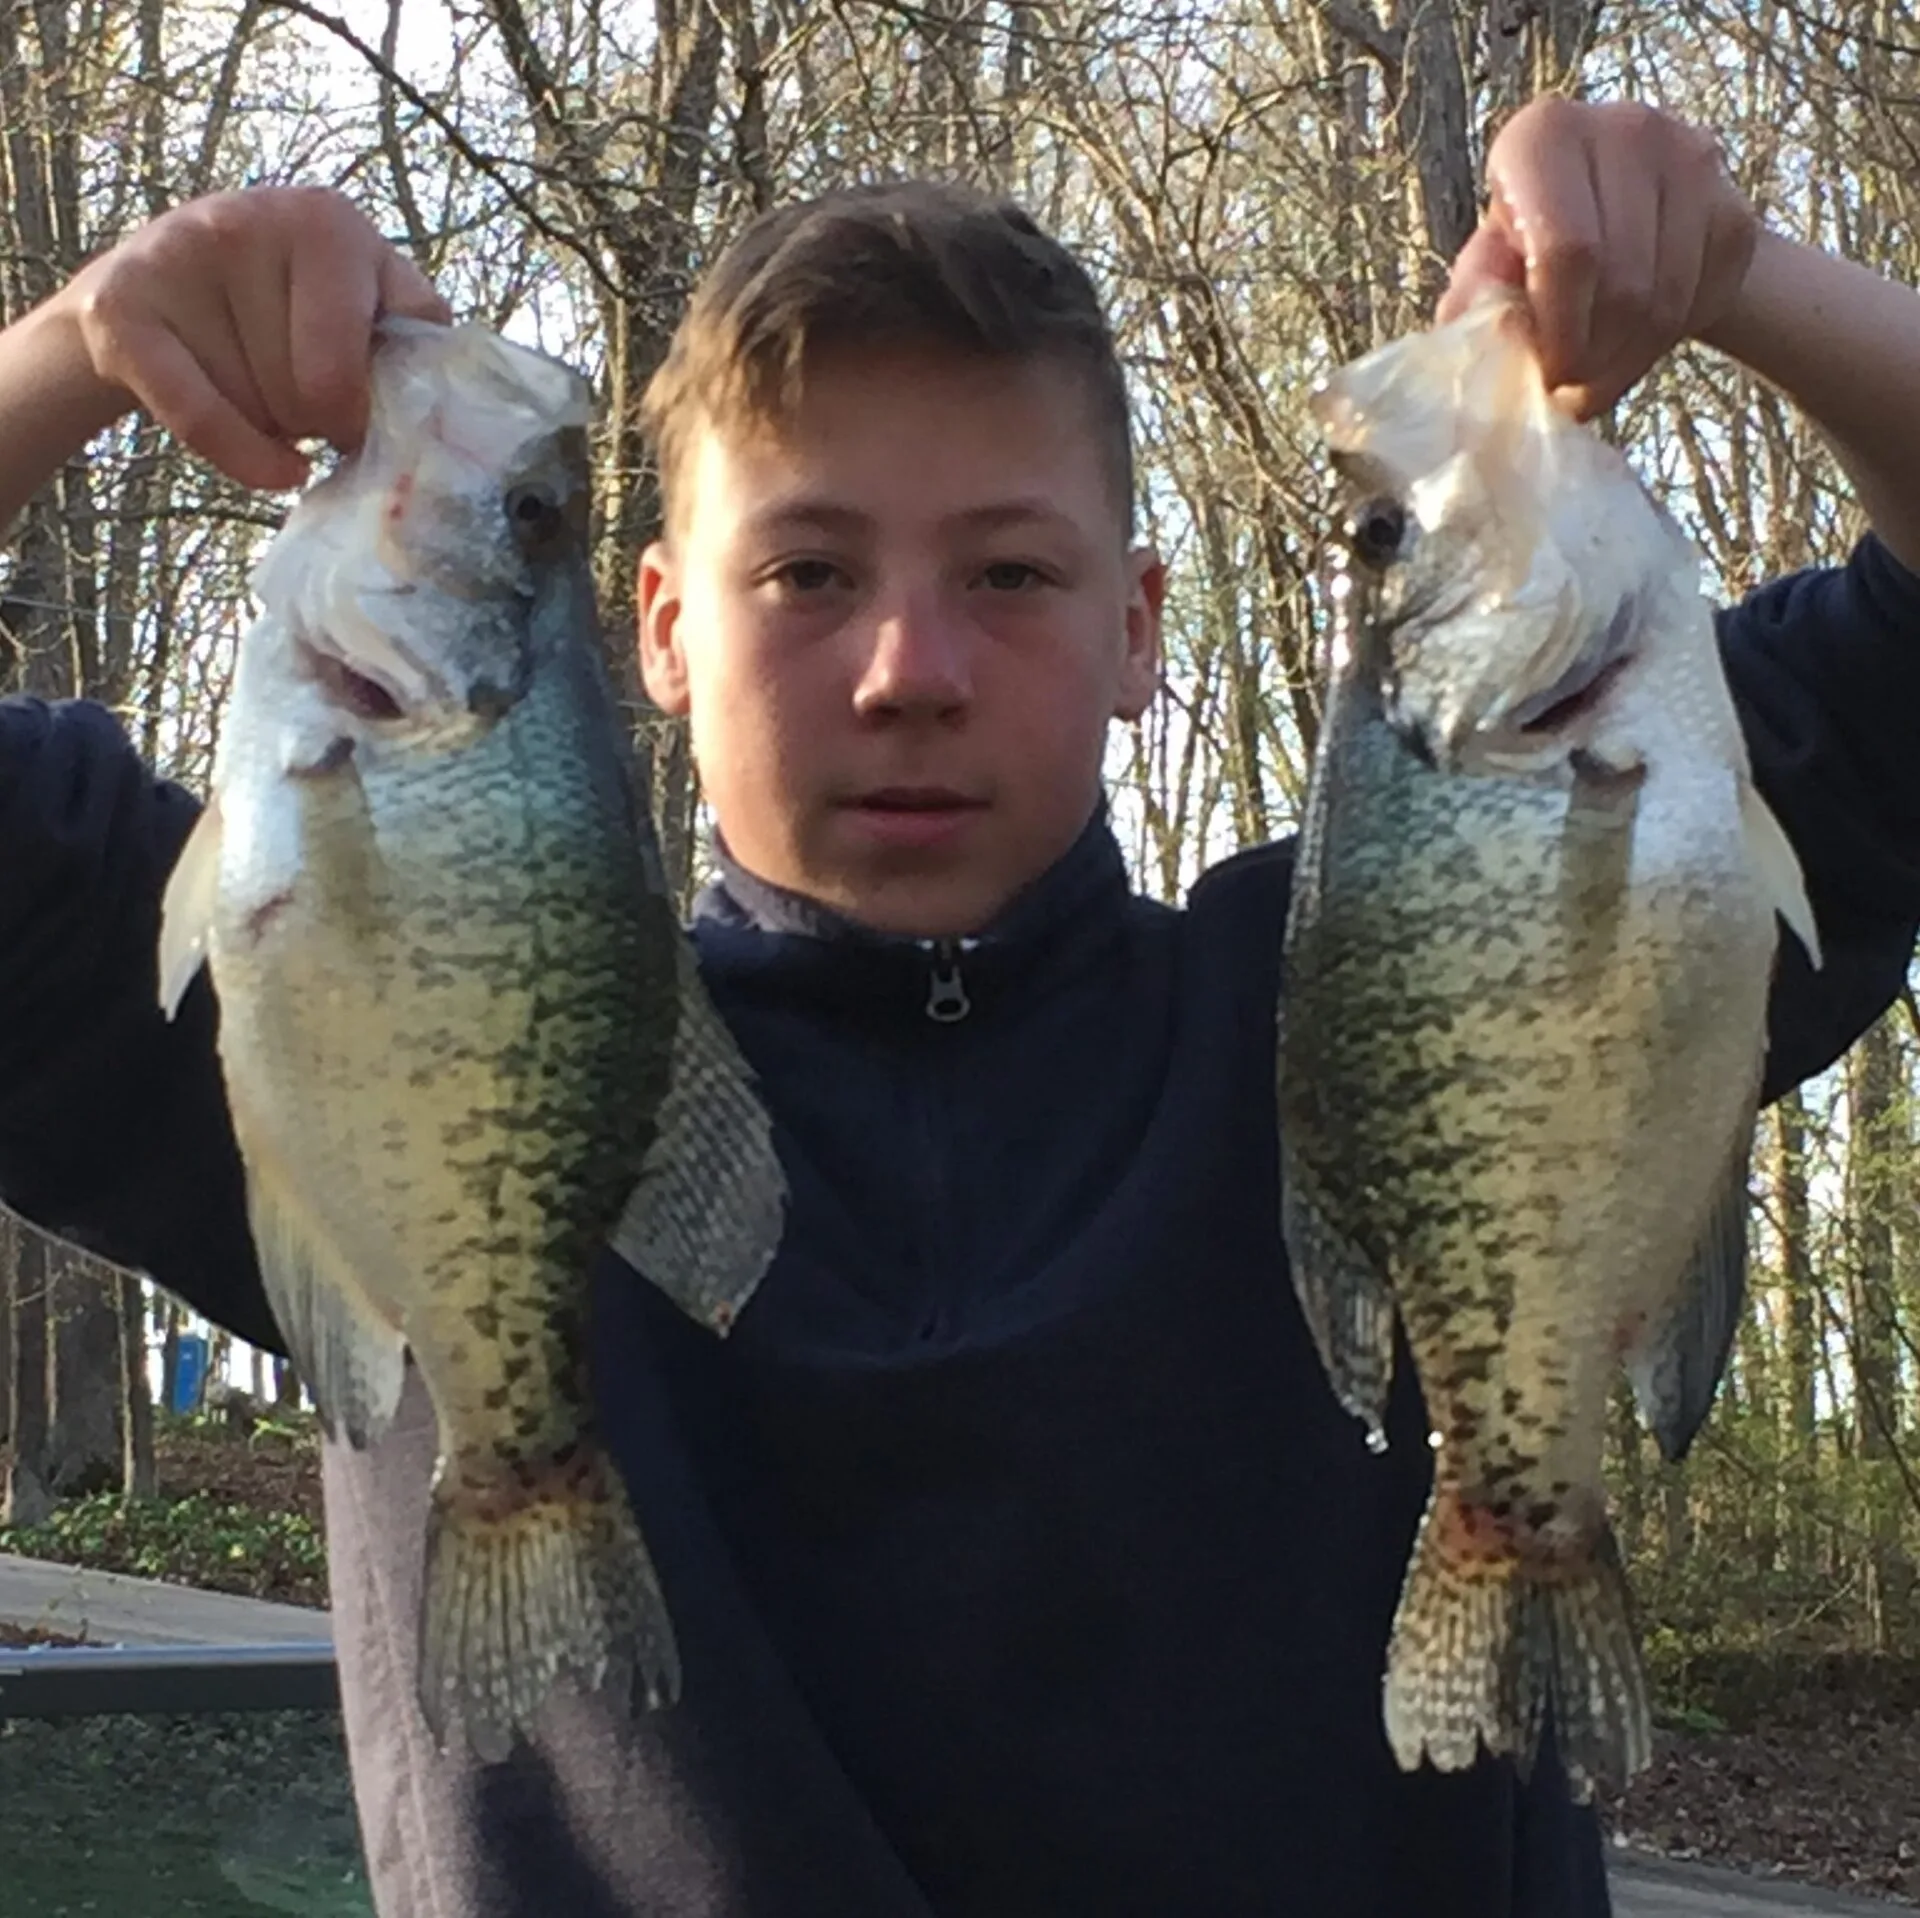
When fishing a new body of water for crappie, it always helps to know where to begin. As the old saying goes, 90% of the fish are located in 10% of the lake. The trick, of course, is to know which 10% of the lake to focus on. In this article, we will look at two factors that are important to crappie and how to use these to help you find slabs no matter which body of water you fish.
Crappie Prefer Low-Light Conditions
Many of the lakes in the Great Lakes region were formed by glaciers at the end of the last ice age. The lack of running water into many of theme along with spring-like ground water results in very clear water many of its lakes. Because crappie prefer low-light conditions, light penetration in clear water usually pushes them deeper. This is very different from lakes in the lower Midwest and the southern states where most of the lakes are man-made impoundments, full of the muddy water fed to them by the massive volumes of up-stream farmland. There, crappie are often found much shallower due to the lower light conditions in the water.
This doesn’t mean that you will never find crappie shallow in northern waters because there are many factors that determine which depth fish will be found. But generally, crappie stay deeper in these lakes. If the lake is very clear with little structural cover, the crappie may hold in the weeds during the day and not emerge until night to begin feeding.
Crappie Like Vertical Structure
Crappie are almost synonymous with the word structure. If you don’t believe it, just go to your local Cabela’s or Bass-Pro Shops aquarium and take note of where you find the crappie. That said, here some of the common types of structure that crappie can be found in.
1:Non-Floating Docks or Platforms
Docks with posts offer both vertical structure and shaded (darker) water. Depth matters, though, and if the water is very clear, it won’t matter how much shade the dock offers, the fish will go looking for deeper water.
2. Floating Docks,
Floating docks can offer the dark water that crappie are looking (depth-dependent, as above) but lacks the vertical structure that dock supports offer. If the dock is near other structure, like rip-rap or submerged tree limbs, it can be just as good as the a non-floating dock.
3. Submerged Trees and Stumps
In impoundments, submerged trees and stumps can often be found in deeper (darker) water, making them great places to find hiding slabs.
4. Downed Shoreline Trees
If the shoreline is relatively deep and holds dark-water, down trees can be a perfect place to find fish. This natural habitat is ideal.
5. Weed Beds
Although this is last on the list, it is certainly not least. As discussed, in natural, clear-water lakes, weeds often offer the only vertical structure in the lake. They can be difficult to extract though, especially on bright, sunny days. Hitting them at first or last light on these lakes is key.
Putting These Factors Together
To locate crappie, first determine where there is structural cover for the fish using the list above. Once you have noted these locations, start with the deepest cover first and work your way back shallow. As with all fishing, traditional sonars can really help locate fish in the deeper water, while side-scan and/or livescope can help with locating the fish in shallower water.Following this formula should help you put more crappies in the cooler.
Boating Safety Tips for Fishing Big Water from a Small Boat
* This page contains affiliate links. The Great Lakes Fisherman may earn a commission on items purchased through these links. For more on this, please click here.
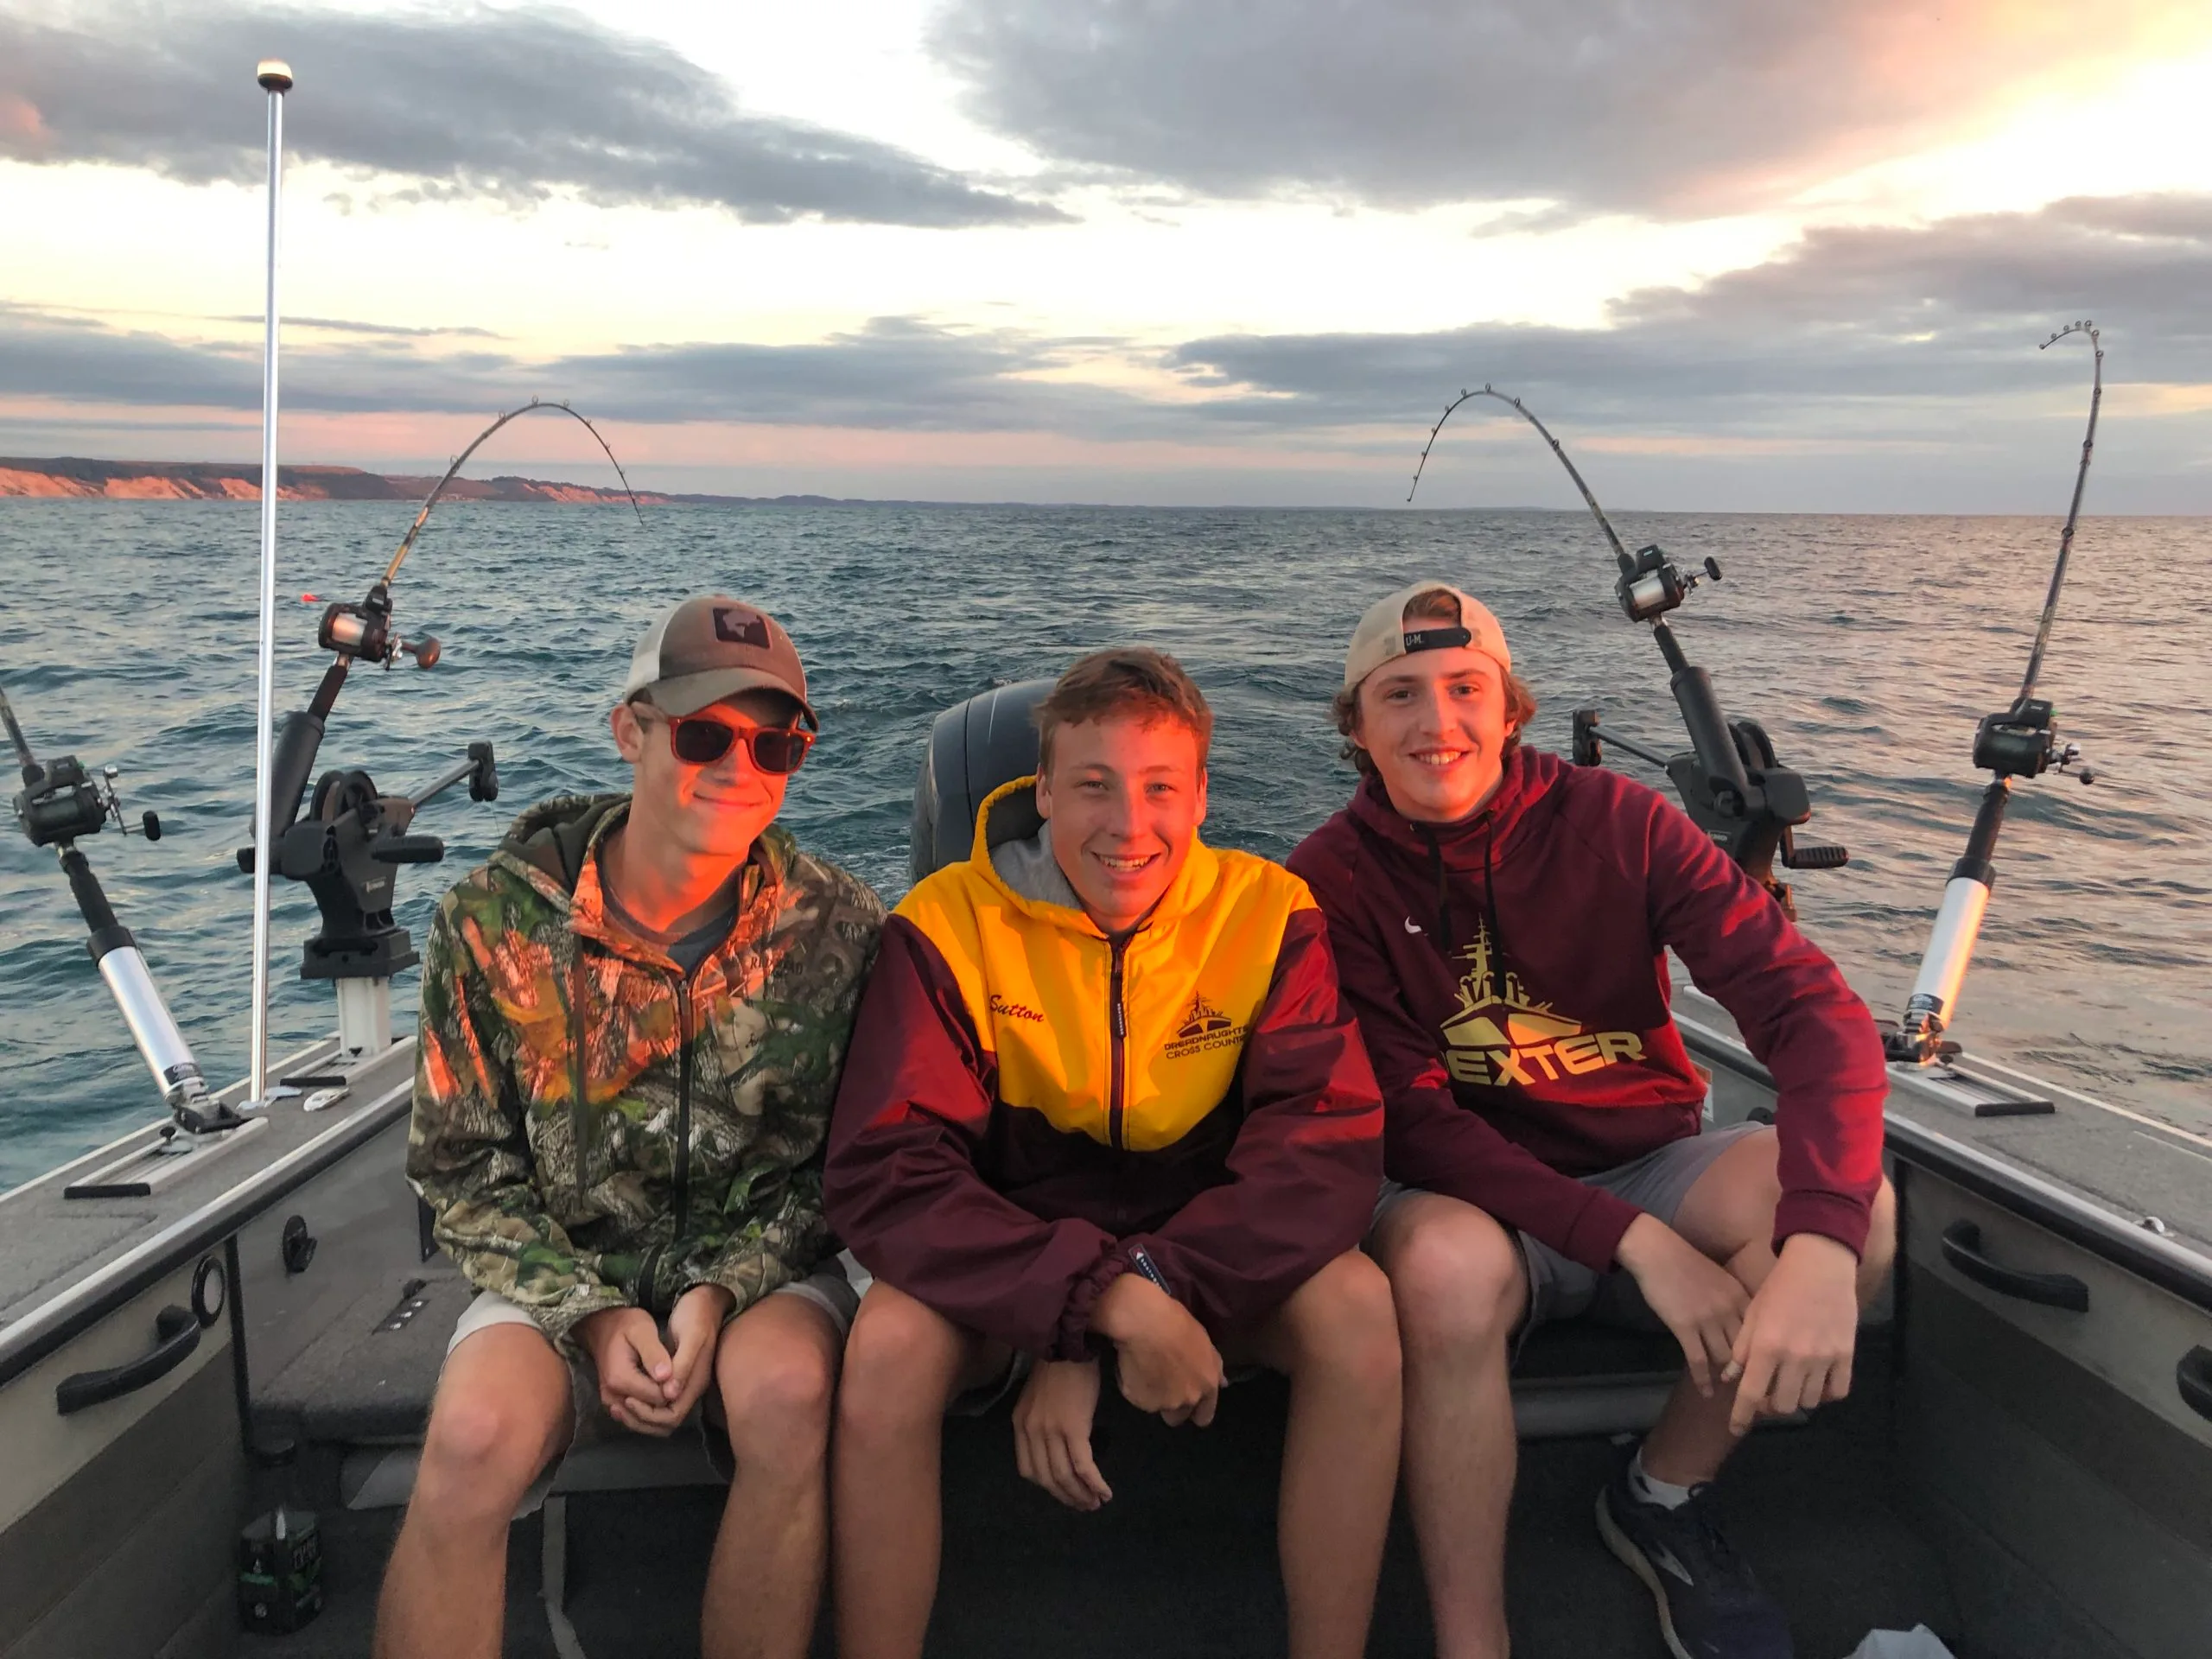
Think you need a 24’+ boat to safely fish the big water? Think again! With the technology and resources available today, big lake fishing is not out of reach for those with boats in the 16-22′ class. But while the great lakes are a paradise for those who love to fish, they can be dangerous if not respected. Read on for 5 tips to keep you safe on the big water.
Tip #1: Standard Safety Gear
Before thinking about getting your boat on these large bodies of water, be sure to have all of your standard safety gear up to date. This includes the following:
- Life Vests (Including a Throwable)
- Up-to-Date Fire Extinguisher
- Flares & Horn in Good Working Order
- GPS Unit
- A Well-Stocked First Aid Kit
- Small Basic Tool Kit
- Properly Working Navigation Lights
Tip #2: Communication
The ability to communicate is key. You should understand the cell coverage of your phone in whichever port you decide to fish from. You can check message boards and ask fellow fisherman for this if you live far from the lake. Fisherman are great people and while some may not want to give you the GPS coordinates of their favorite hotspot, I know very few who wouldn’t help with answering basic safety questions.
Ship to shore radios provide a great added feature even where cell coverage is good. In areas where cell coverage is limited or non-existent, a ship to shore radio is essential. You definitely don’t want to venture out into great lakes waters with no communication.
Tip #3: Know the Weather Forecast
Understanding the weather forecast for the day you plan to fish the great lakes is vital. There are many resources available these days to ensure a safe and enjoyable day on the water. There is simply no excuse for not knowing. Not only should the basic forecast for the day be understood, but the wind forecast is particularly important. Be sure to know the maximum wind speeds, including gusts, as well as the wind direction and how it might change throughout the day.
Tip #4: Invest in a Kicker Motor
A kicker motor is a second, small outboard motor (typically less than 25 hp) that can provide two major benefits. First, it can be your primary motor for trolling and save your main engine from running long hours at idle speed. Secondly, and more importantly, it can become a back-up motor to get you off of the water, should your main engine fail.
Tip #5: Know When to Pull the Plug
Understanding your limits and recognizing potentially hazardous situations is the one of the most important of these tips. The fish will still be there tomorrow and you need to ensure that you and your crew will be as well. Never venture further from port than your boat can handle. The smaller the boat, the closer to port you should remain. If your cell phone dies and you are 4 miles out, you may want to head a little closer to port. If any of your safety equipment fails or goes down, it might be time to get off of the water. And finally, the wind is your enemy. Modern forecasts are good, but they are not perfect. If there is any unexpected shift in the weather, it might be time to go. Waves on the great lakes can kick up in a hurry.
Following these tips will help ensure a safe and enjoyable day doing what you love!
