When & How to Use High-Vis Line
* This page contains affiliate links. The Great Lakes Fisherman may earn a commission on items purchased through these links. For more on this, please click here.
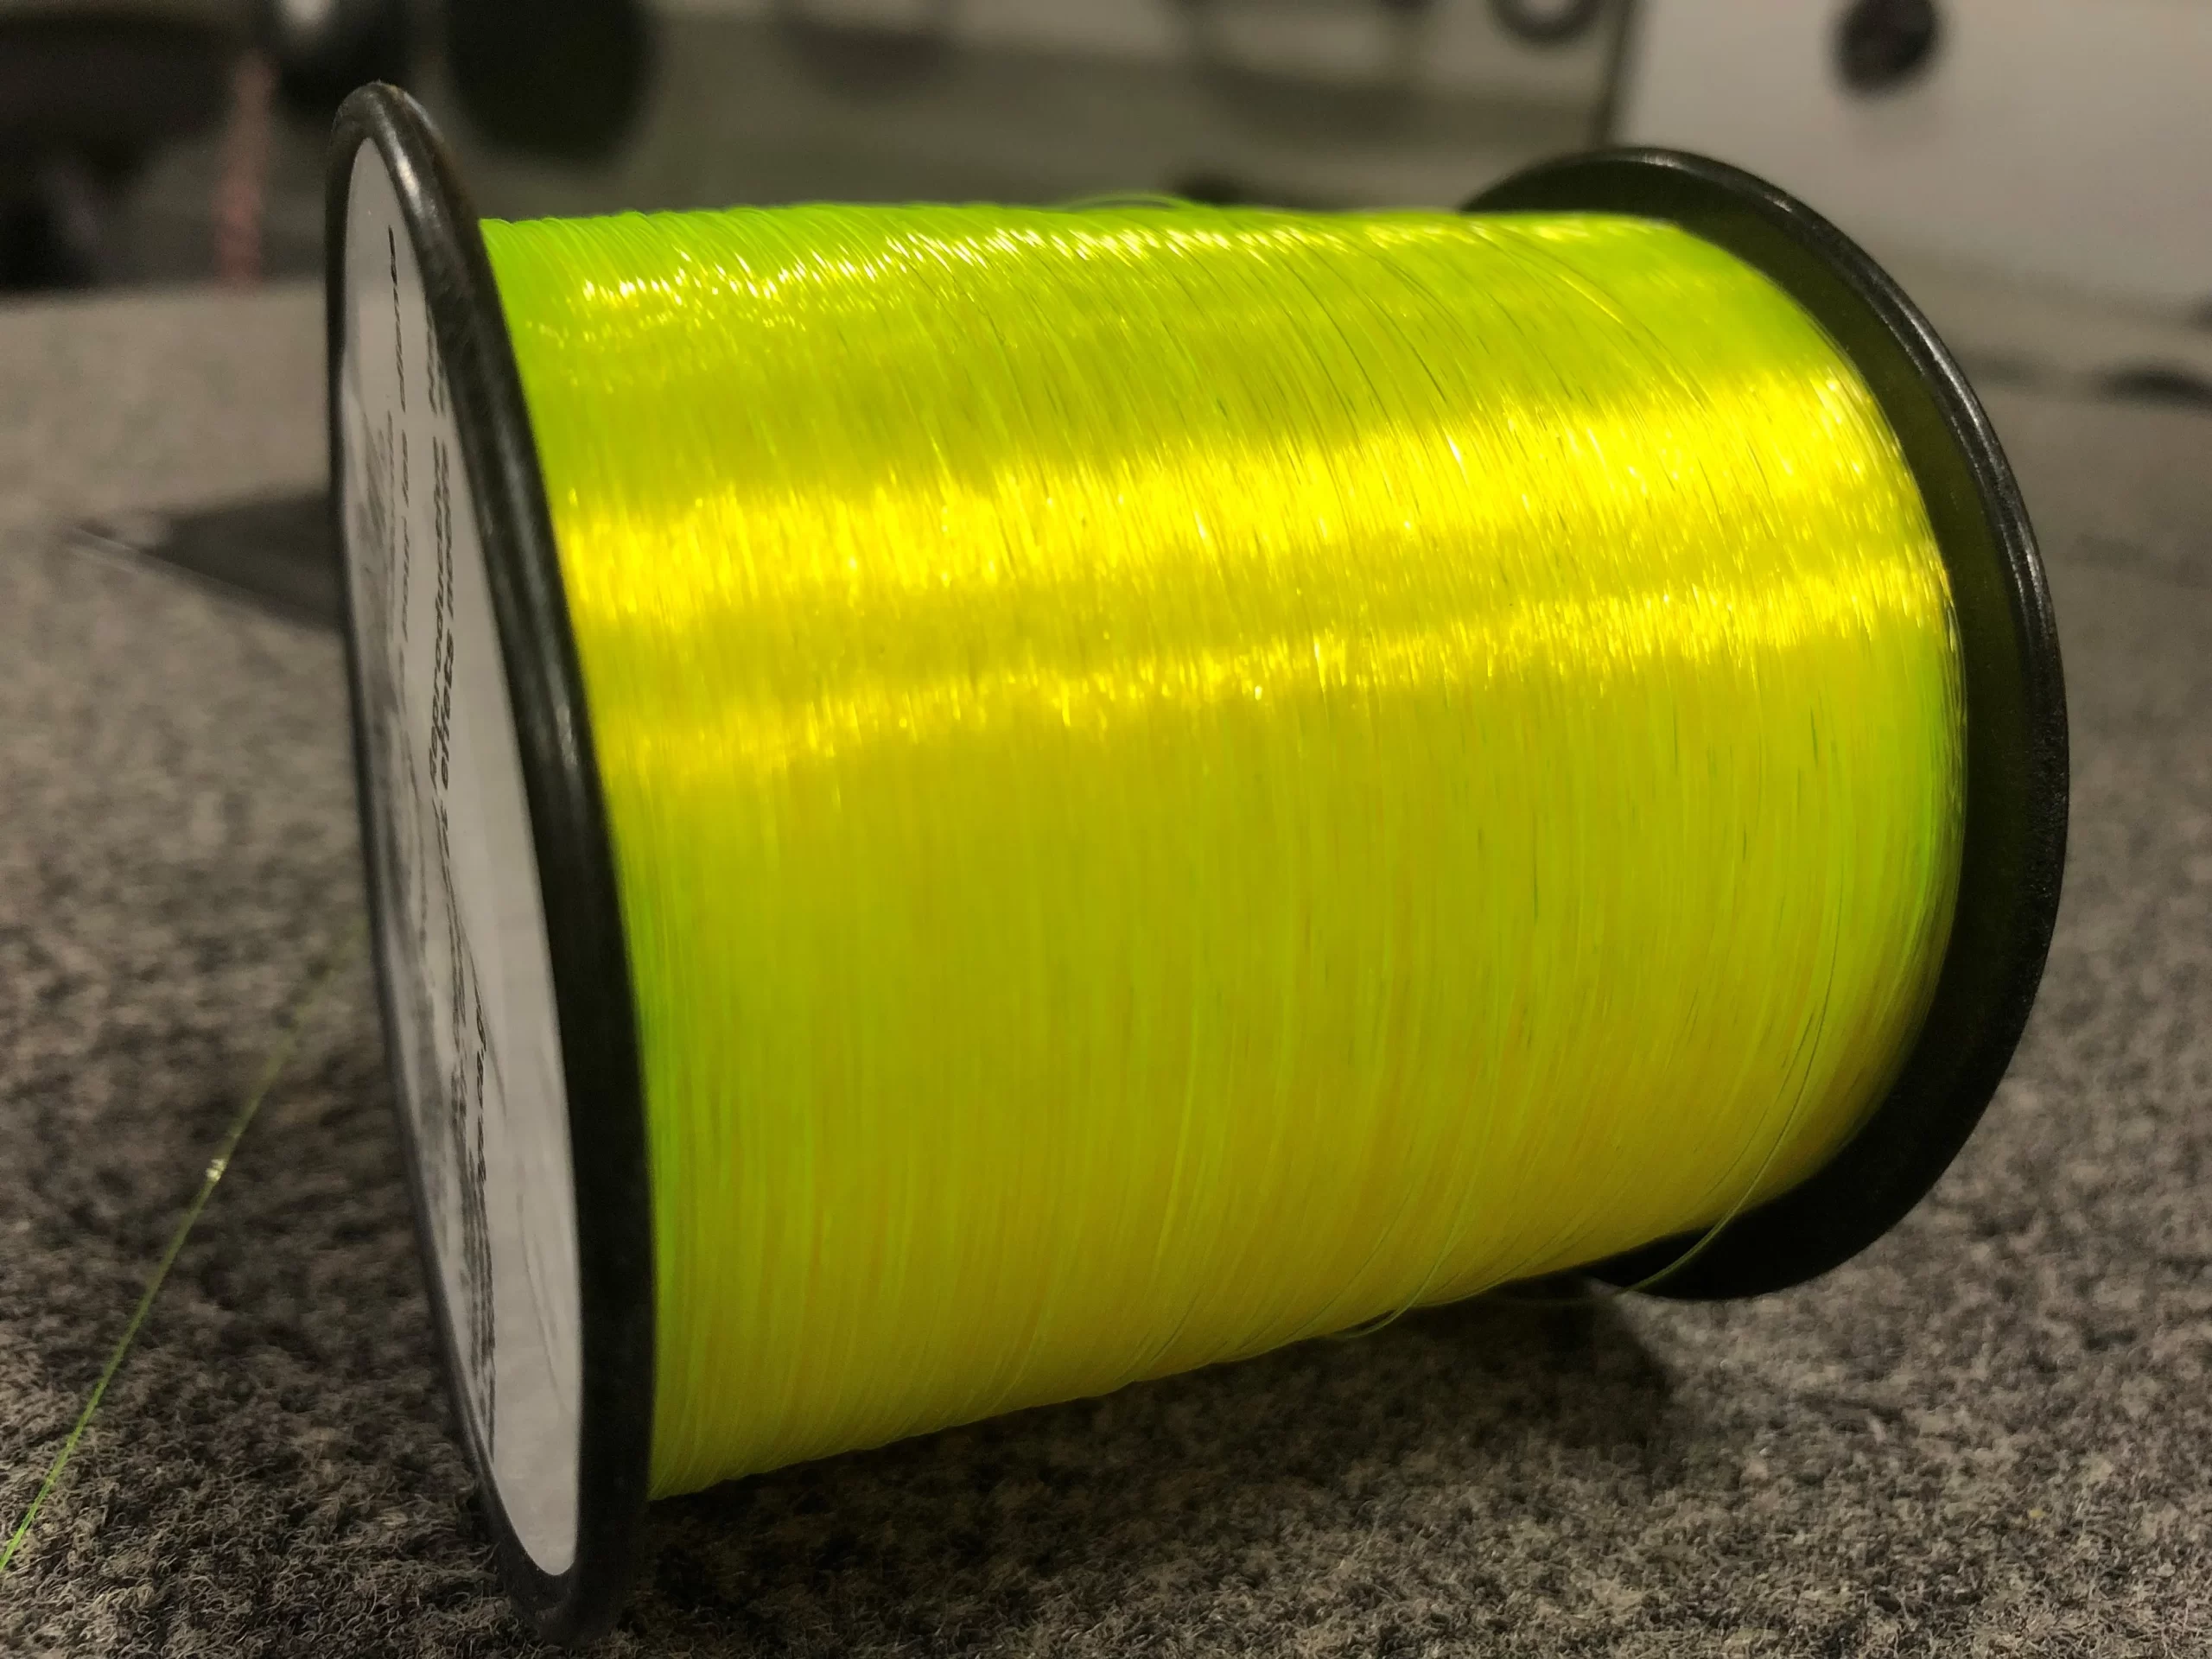
Have you ever wondered how often you missed a fish that took the bait but you never knew it was there? For every fish you detect, you wonder how many more you could have caught, if only you knew. While you will never know for certain how many of these opportunites were there, there is a way to lower the number of fish you miss. And that is by harnessing the magic of high-vis line.
Putting Eyes on the Situation
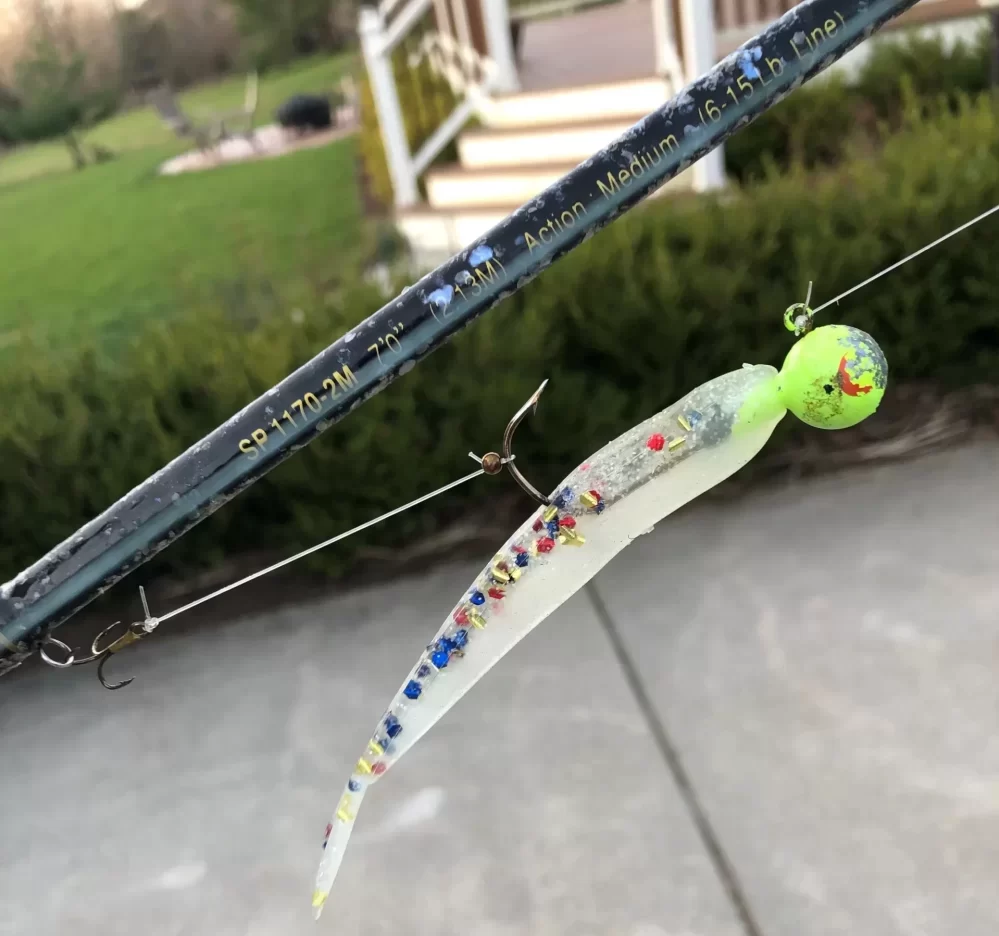
High-vis line has improved my catch rate tremendously. Possibly by as much as 50% or more for certain types of fishing. High-vis line gives you the sense of sight that was virtually non-existent prior to its arrival. Traditional clear monofilament lines are difficult to see and if a fish is hitting lightly or if their momentum causes the line to go slack, you will not detect this via feel alone. Being able to see what the line is doing adds to your ability to set the hook before the fish spits it. This is important becuase the window of opportunity is often short and must be timed accordingly.
What About Line-Shy Fish?
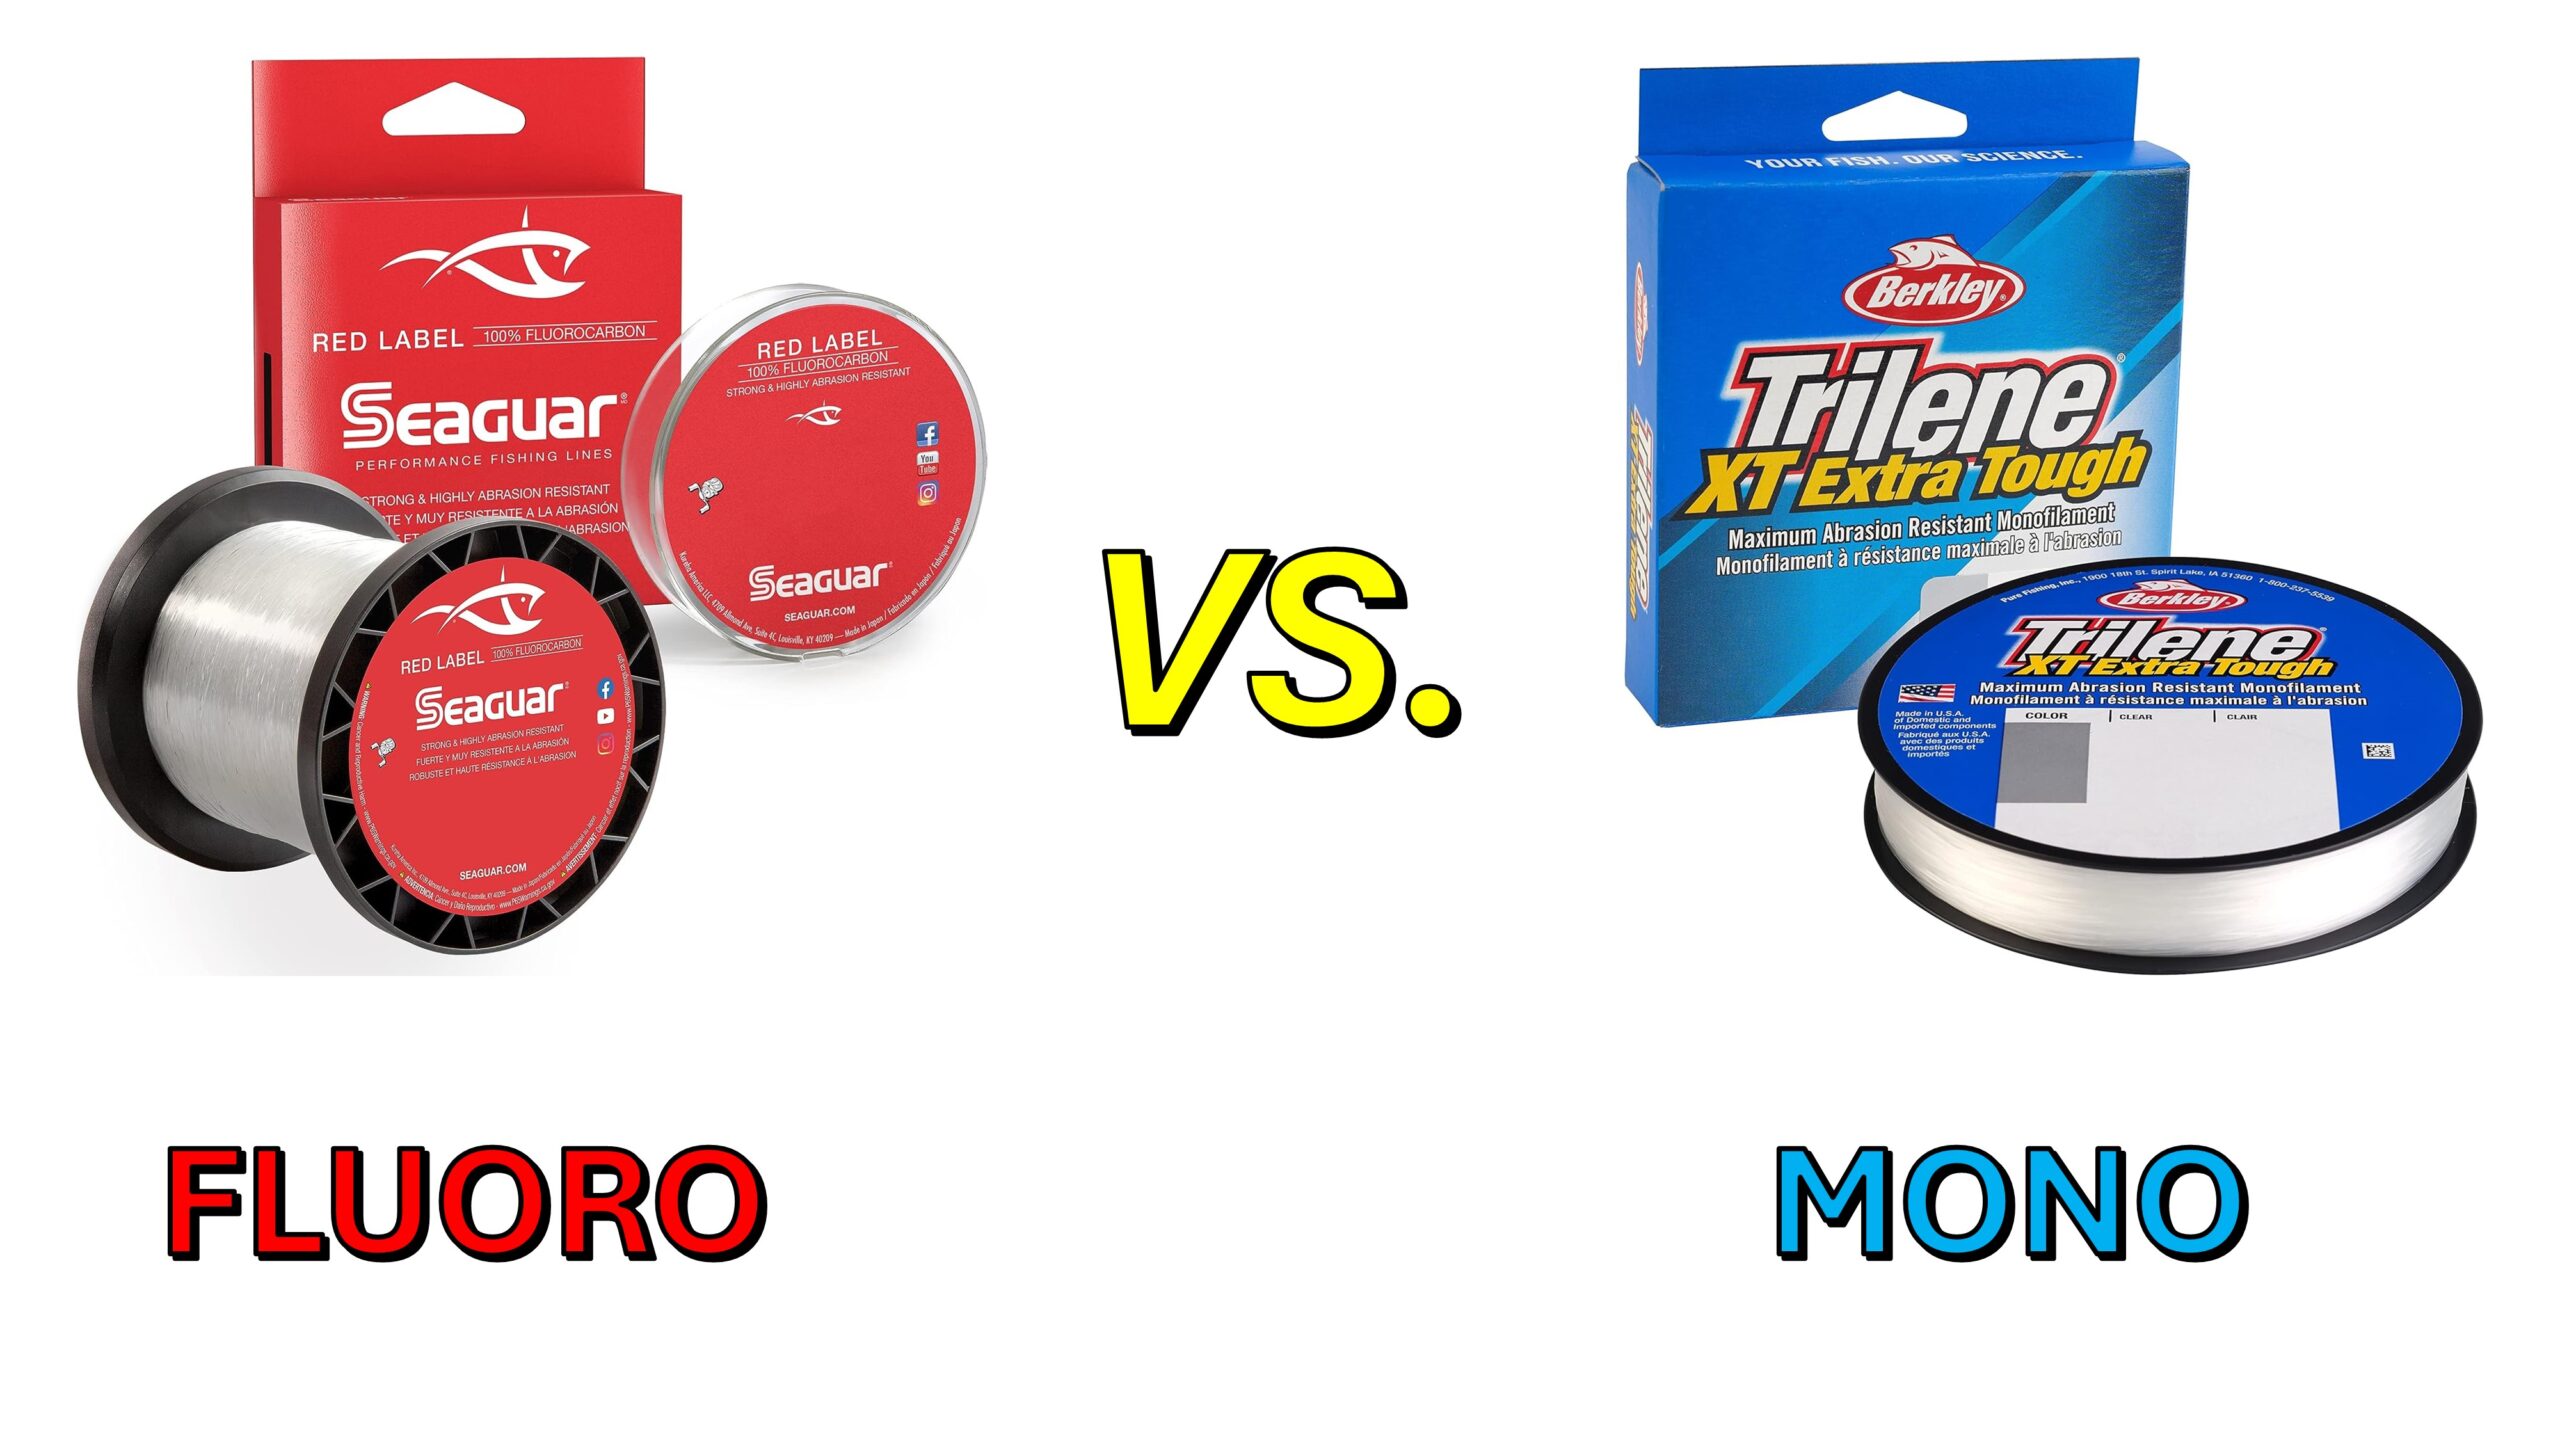
There may be some concern about the fish becoming line-shy. This is particularly true in the ultra clear waters which dominate the Great Lakes Region. To remedy this, simply tie on a couple of feet of flourocarbon leader. I have found that this eliminates any apprehension a fish may have. It takes a few extra minutes to tie on the leader, but trust me when I say that it’s worth it!
When to Use High-Vis Line
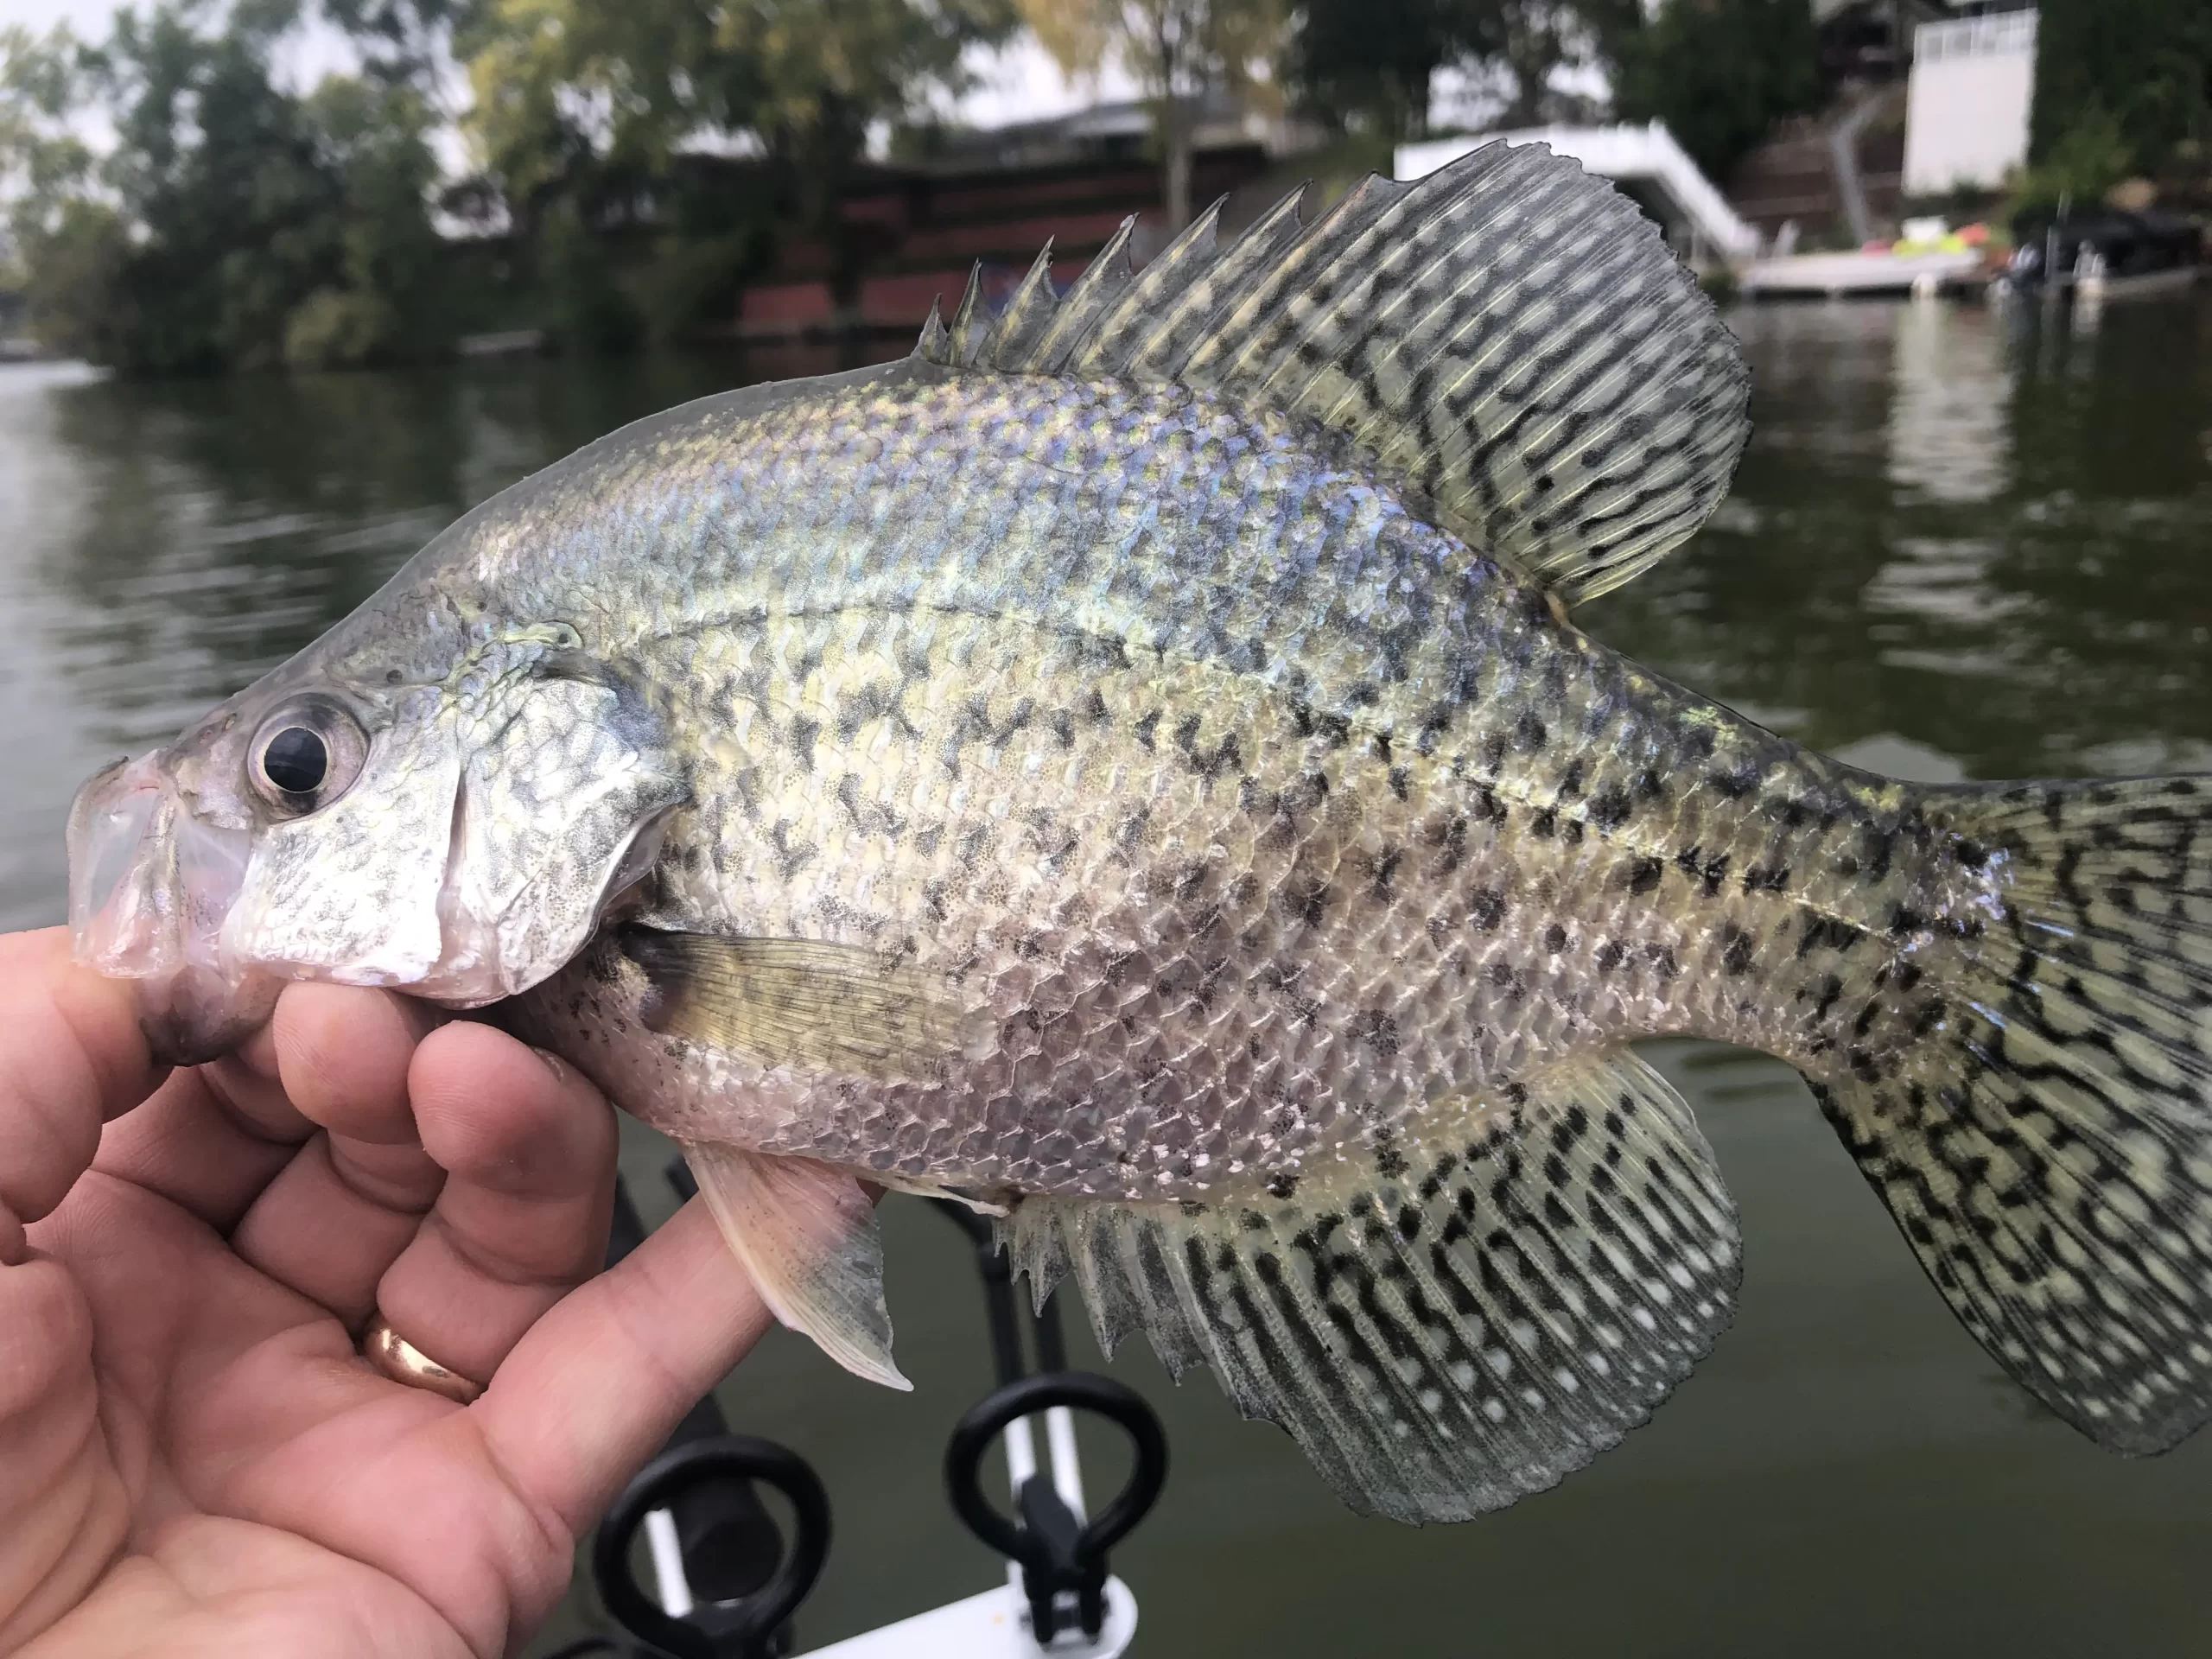
I like use high-vis line in any situation where I am holding the rod while fishing. Jigs, plastics, and jerkbaits all benefit from the use of high-vis. Bass, walleye, and crappie are 3 species where I highly recommend its use.
When Not to Use High-Vis Line
There are times when high-vis line isn’t really helpful. This includes any time that you are not focused on a single fishing rod, such as when trolling with a multi-rod setup.
In addition, when the line isn’t the direct link between you and the bait, such as when using bobbers, bottom bouncers, etc., high-vis line is not necessary. Here, any twitch of the line will not be seen becuase you are not looking at the line segment that is attached to the bait. Any change of tension in that segment doesn’t always visibly translate to the segment of line that goes to the rod tip.
How to Use High-Vis Line
So the way I have learned to use high-vis line is to allow the line to bow a bit once I have cast the bait out. When fishing on the bottom, this can be done by simply lowering the rod tip to allow for just a small amount of slack. When swimming a bait back, I allow the wind (if present) to put a small bow in the line. You can control this by raising or lowering your rod tip accordingly. By having this bow in your line you are giving yourself the best opportunity to see a twitch when a fish hits.
Hopefully you have found this info helpful and give high-vis line a try. Once you try it and you discover for yourself how many hits you’ve been missing, you’ll never want to fish without it.
How to Catch More Largemouth Bass
* This page contains affiliate links. The Great Lakes Fisherman may earn a commission on items purchased through these links. For more on this, please click here.
Have you ever been frustrated after using a new bait that you saw promoted on a bass fishing show and wondered why you just don’t seem to catch the fish like they do on the program? Speaking for myself, I can say that I have purchased some baits that seemingly hammer the fish on TV but which don’t catch a single fish for me. Is it just me? Probably. But there is something I have noticed that was likely controbuting to this. Read on to learn how to catch more largemouth bass.
When I was young, we fished quite a bit for bass and the fish we caught were not particularly impressive in size. Sure, occassionaly we’d land a whopper, but they were few and far between. As I got older, we started getting into walleye, perch and salmon fishing and the bass fishing sort of fell by the wayside.
About 15 years ago, I went on a crappie fishing trip to Mississippi with my dad. I became hooked. As a result, I started pursuing crappie back in Michigan, my home state. And one of the things that caught my attention was how many more bass I was catching while pursing these crappie. What was even more interesting was how large some of these bass were.
About that same time, we started taking annual spring break trips to the south. Each spring, we would rent a lake house on a different lake in the south and take our boat to fish the lake. It was during those trips that I learned just how different natural northern lakes were from southern impoundments. And one of the biggest differences from a fishing perspective was the forage that is available for game species such as bass.
It is no secret that fish of a given species, in general, get much larger in the south. One only needs to look at the record books to see how true this is. This means that, on average, the forage species in the south are much larger than what is available in the north.
Marketing, Marketing, Marketing
Have you ever noticed that most national bass fishing shows are taped in the south? It makes perfect sense that this would be the case. Most people want to see people catching 6-12+ lb. lunkers vs. 1-6 lb. fish. And it is these tv shows that largely drive the sale of fishing products. So it stands to reason that these shows would promote the products that were being used by the pro fisherman on these fishing shows. That is just marketting 101.
The problem is that when we fisherman in the north take to our local lakes and streams, we are using the same products that were promoted on these TV shows. And in many cases these products imitate forage that is much larger than what is in most of our lakes and streams. This means that we spend hours throwing baits that will often be ignored by the fish in our lakes.
Now don’t get me wrong, I am not suggesting that you will never catch fish on these baits. Fish hit baits for all sorts of reasons and these baits will produce from time to time. And when they do, the fish will usually be on the larger size (if for no other reason than the smaller ones can’t get them in their mouths). But what I have found, is that my catch rate has increased tremendously by using baits that are the size of a large minnow and that includes my catch rate of larger fish.
3 Alternative Baits to Try
So what baits can your try as alternatives to these very large, traditional bass baits? Here are three baits that will catch a ton of bass in northern waters.
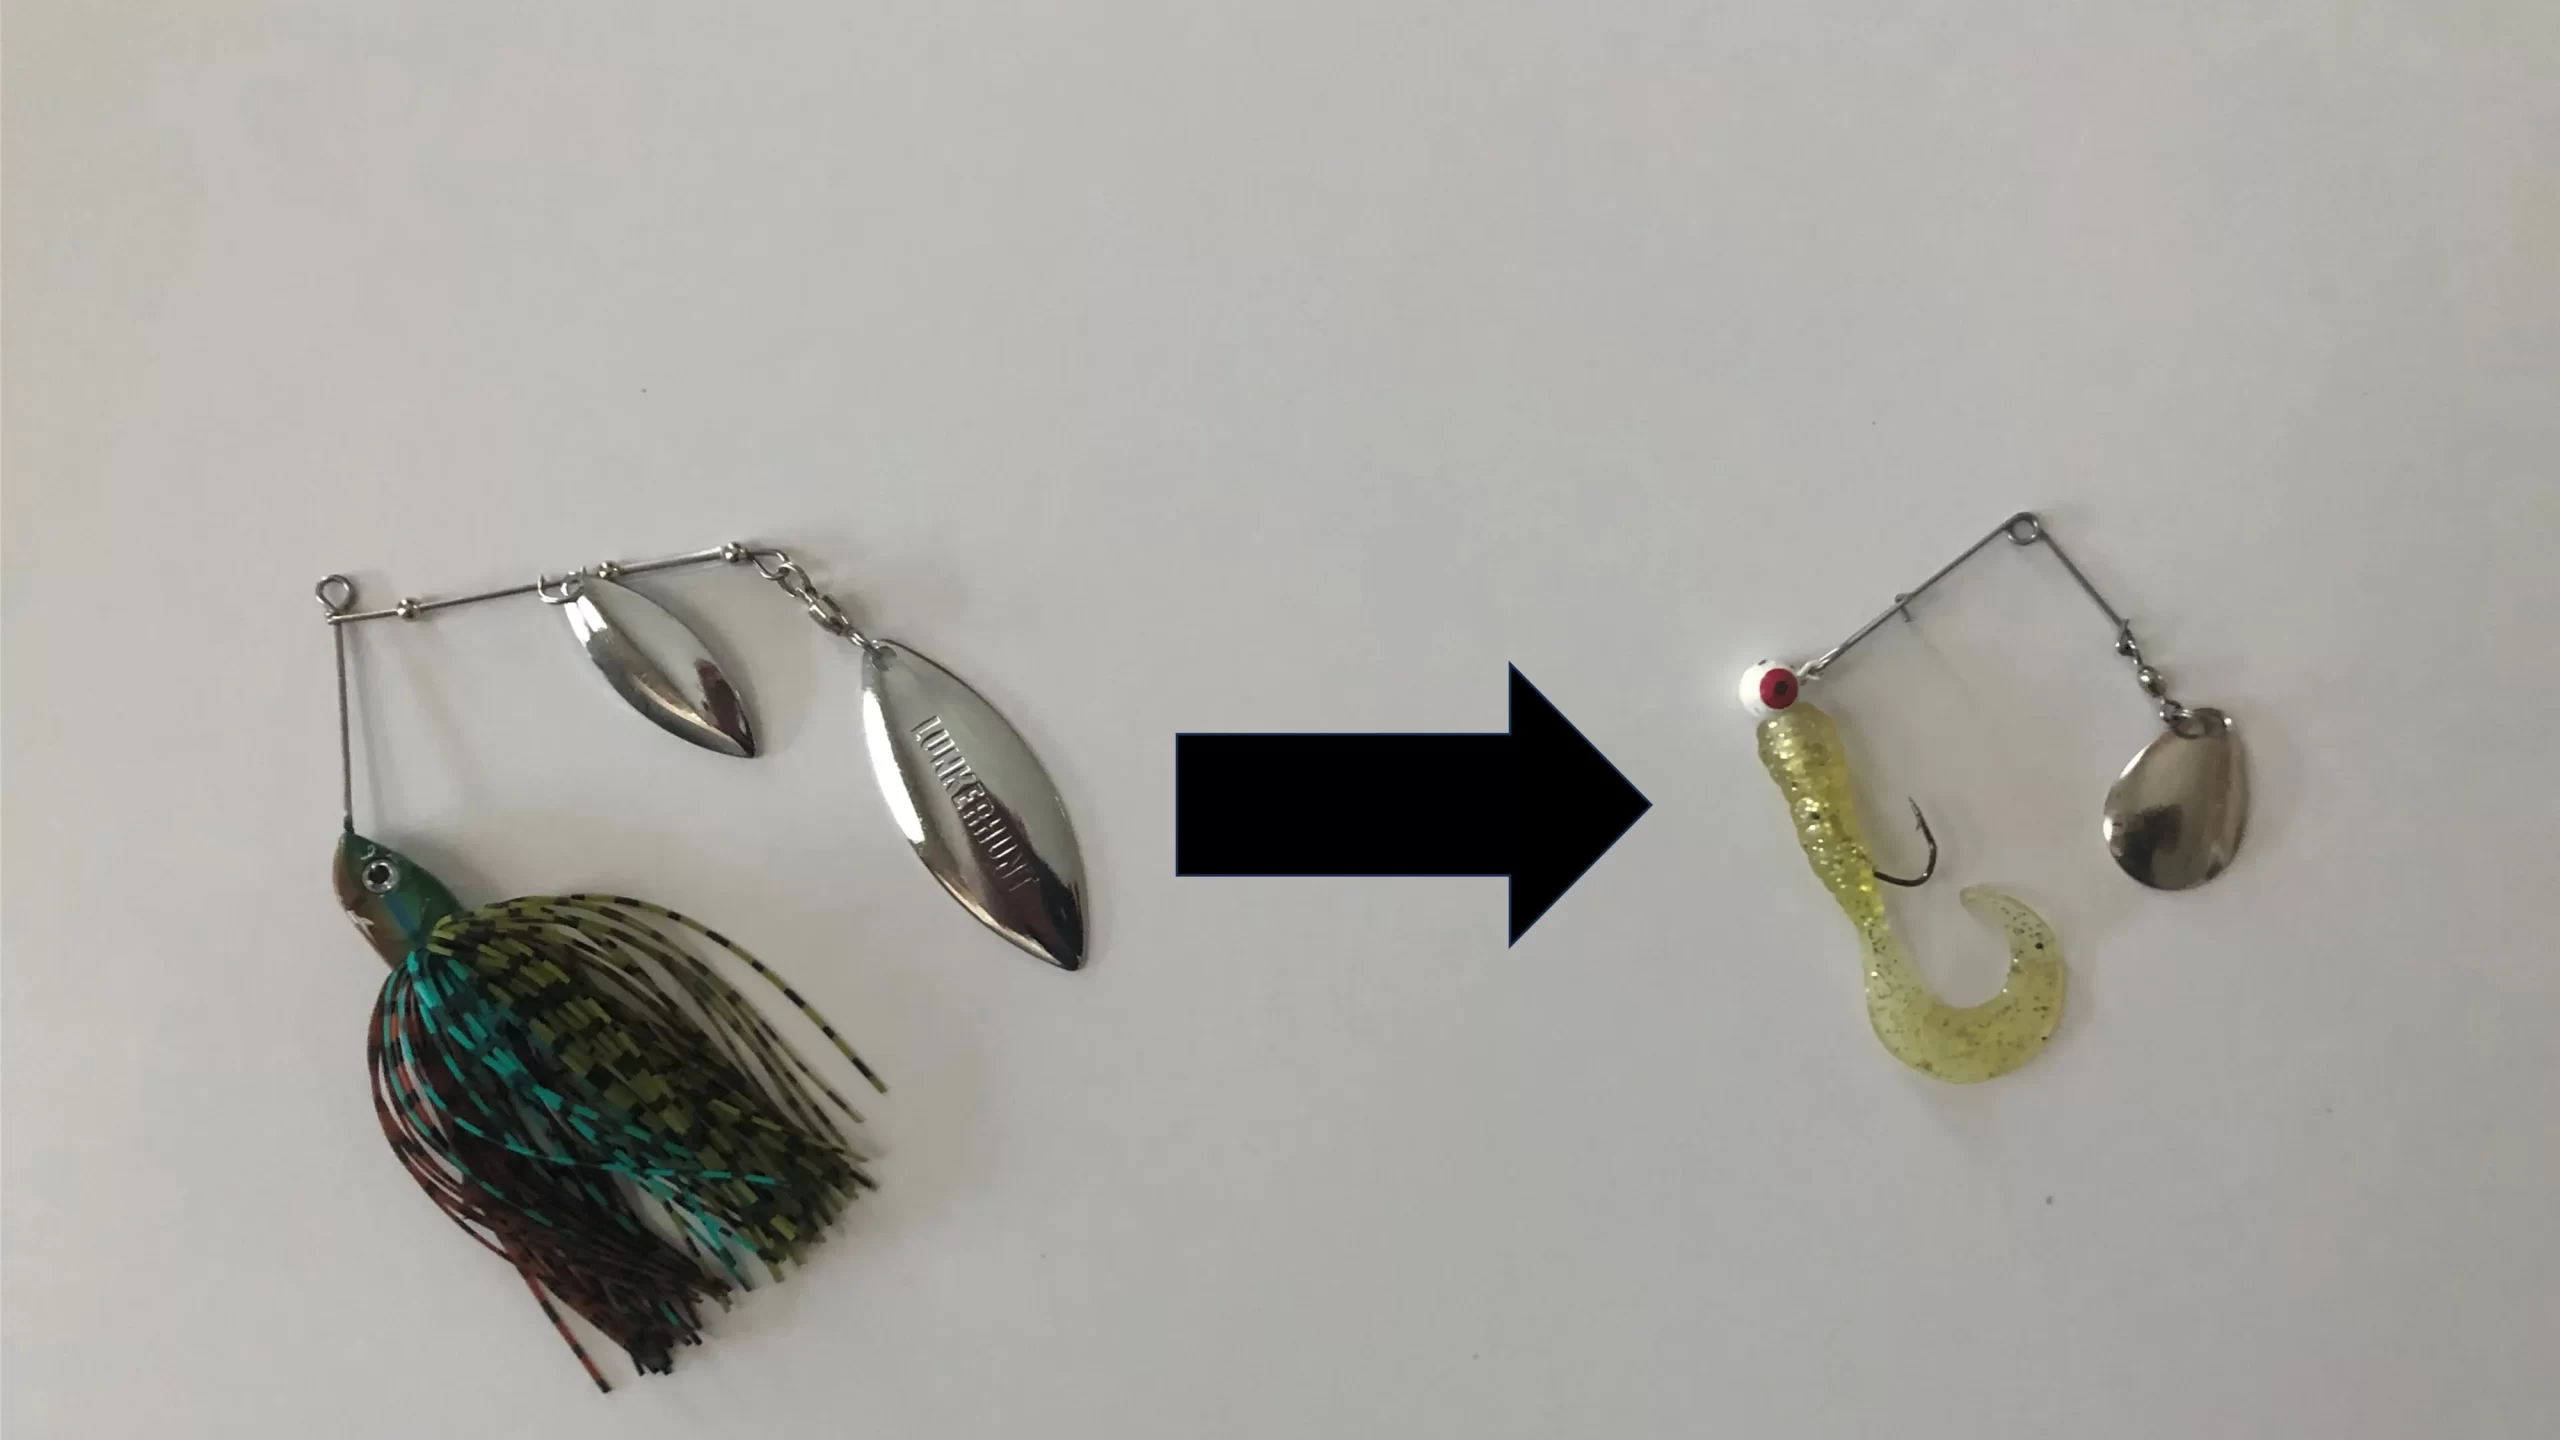
1. Johnson’s Beetle Spin
Instead of using a full sized spinner bait, try a beetle spin. This is effectively a miniature version of a spinner bait and in my opinion is many times more productive in northern waters. Start with a slow retreive to allow the bait to swim at a lower depth.
2. Jig and Plastic
Another bait that has proven to be extemely productive is a small jig and plastic. Try a 1/16 to 1/8 oz. jig head in either white or chartreuse, tipped with a minnow-style plastic in the 2-4″ length range. Cast this presentation into areas know to hold bass, let it fall to depth that is a foot or so above the weedtops, and swim it back to the boat, varying your speed until you find success. Again, always start with a very slow retrieve.
3. Plastic Worm Rigged Wacky Style
This is one of the most natural looking baits for any inland lake fish. Simply cast the rig to where the fish are and let it fall. Keep a bow in your line on the fall and watch for a twitch in the line. Once on the bottom, let it sit for 5-10 seconds before reeling in and repeating.
The One Thing All of the Best Fishermen Do
* This page contains affiliate links. The Great Lakes Fisherman may earn a commission on items purchased through these links. For more on this, please click here.
Did you ever wonder what separates the good fishermen from the really great fishermen? Is it the gear that they have? Is it their knowledge of a particular body of water? Maybe it’s just dumb luck? Well, I would be naive if I said that those had nothing to do with it. But there is one thing that separates good fishermen from the best. And it doesn’t involve any of those factors just mentioned. The best fishermen are willing to take the time and effort to make small changes to their techniques in order to marginally increase their catch rates.
Now, you might think that if it’s marginal then it’s not worth it. But as a rich man once said, the way you get rich isn’t by selling a single good or service for a large profit. The way you get rich is by selling a large number of goods or services for a small profit. Said a different way, these small improvements in technique add up and compound over time. This habit of continual, albeit small, improvements is a proven process in many aspects of life – and fishing is no exception.
Fishermen and Meteorologists
Another way to think about it is to consider weather forecasting. Being a great fisherman is a lot like being a great weather forecaster. A meteorologist can use science to predict the massive changes in weather patterns. But no matter how good their knowledge of the physics of weather is, there is no substitute for the volumes of real data that computer models collect and use to make strikingly accurate predictions.
And this translates to the fishing world. The only difference is that your brain is the computer and your personal knowledge from past fishing experiences is the data that forms the model. By paying attention to the smallest of changes every time you fish and adjusting accordingly, you will improve your results, just as a weather model improves its forecast.
The Twitch
The following is an example of one such small improvement which has greatly improved our catch rates for walleye.
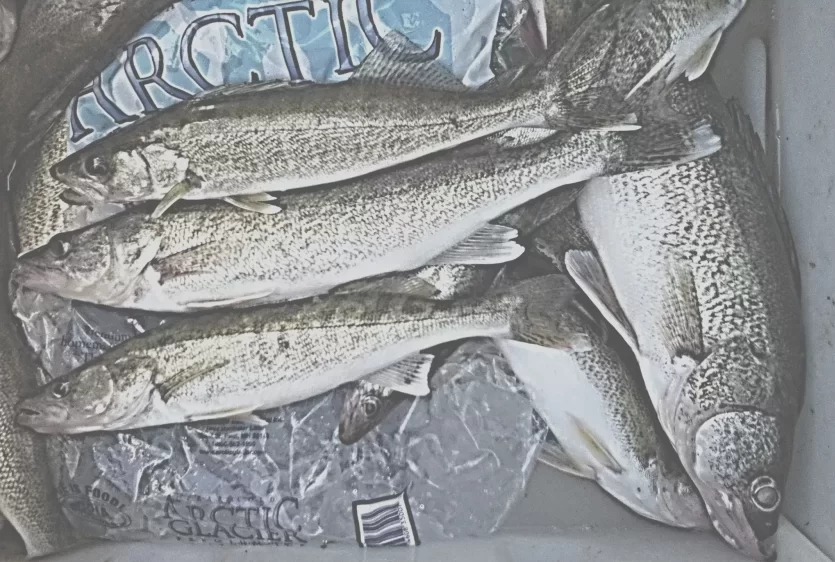
When fishing a favorite walleye lake of ours in Canada, we like to troll in the last hour or so of daylight to catch walleye that are cruising the shallows for an evening meal. Trolling the original black & white Rapala is a proven technique on many of these lakes. The low-light contrast of the black top with the white underbelly of the lure sticks out like a sore thumb to walleye who can see much easier in these low-light conditions than many other fish (for more on this see Lure Color Selection).
The first time we took my dad with us on this trip we couldn’t help but notice that even though he was using the exact same lure we were using, he was outcatching us nearly 2:1. So I started paying attention to where and when he was catching the fish.
In the trolling route we were following, I wanted to see if he was catching his fish on the shore side or the deeper side. Maybe the fish were really hugging those reeds. But no pattern emerged that pointed to that. He seemed to catch as many fish on the reed side of the boat as he did on the open lake side.
I also paid attention to see if was catching more fish when the boat turned around. Maybe lure speed made a difference. Was the change in lure speed on the turns triggering the strike? Not that I could tell.
To this point, the things I was looking for were more circumstantial. After all, we were using the exact same lures and trolling them in the same areas and from the same boat. How could he be so much more successful than the rest of us?
But then I noticed a small movement out of the corner of my eye. His rod tip had moved slightly from a small twitch of the hand. I started to watch this rod. He would twitch the rod forward and then let the lure fall back, then twitch forward and let it fall back. The rythym of this was very similar to the rythym one might depart to a jig on the lake bottom. And before long, he had another fish on.
Needless to say, I tried it for myself and before long, I too, had my next fish. As I continued to make this subtle change to my technique, my catch rate instantly went up. From that point forward we incorporated that technique to our repertoire. It was a very minor adjustment, but it made a huge difference in our results.
Small Changes Over Time
This was just one example of a way to increase the odds of putting more fish in the boat. There are countless adjustments that can be made to improve the catch rate. Each improvement, however minor, pushes your success rate in a postive direction and often compounds the effects of other improvements you have already made. Much like money grows, so too will your catch rates. And this is what separates the really great fishermen from the rest of the pack.
Nobody wants to make fishing to seem like a job. Fishing is for enjoyment. For many, catch rates aren’t that important. In fact, some folks would find less enjoyment if they had to contuously look for improvements. And there is nothing wrong with that. We all find enjoyment in different ways.
But if you are the type of person who is looking to improve, don’t stop trying new things. Maybe a successful catch goes from a fish or two, to an occasional limit. Or from an occassional limit to limiting more often. Maybe you go from catching smaller fish to bigger fish. Whatever the case, improvement in fishing will come with time and effort like anything else, and it is often the small changes over time that make the biggest diffrence.
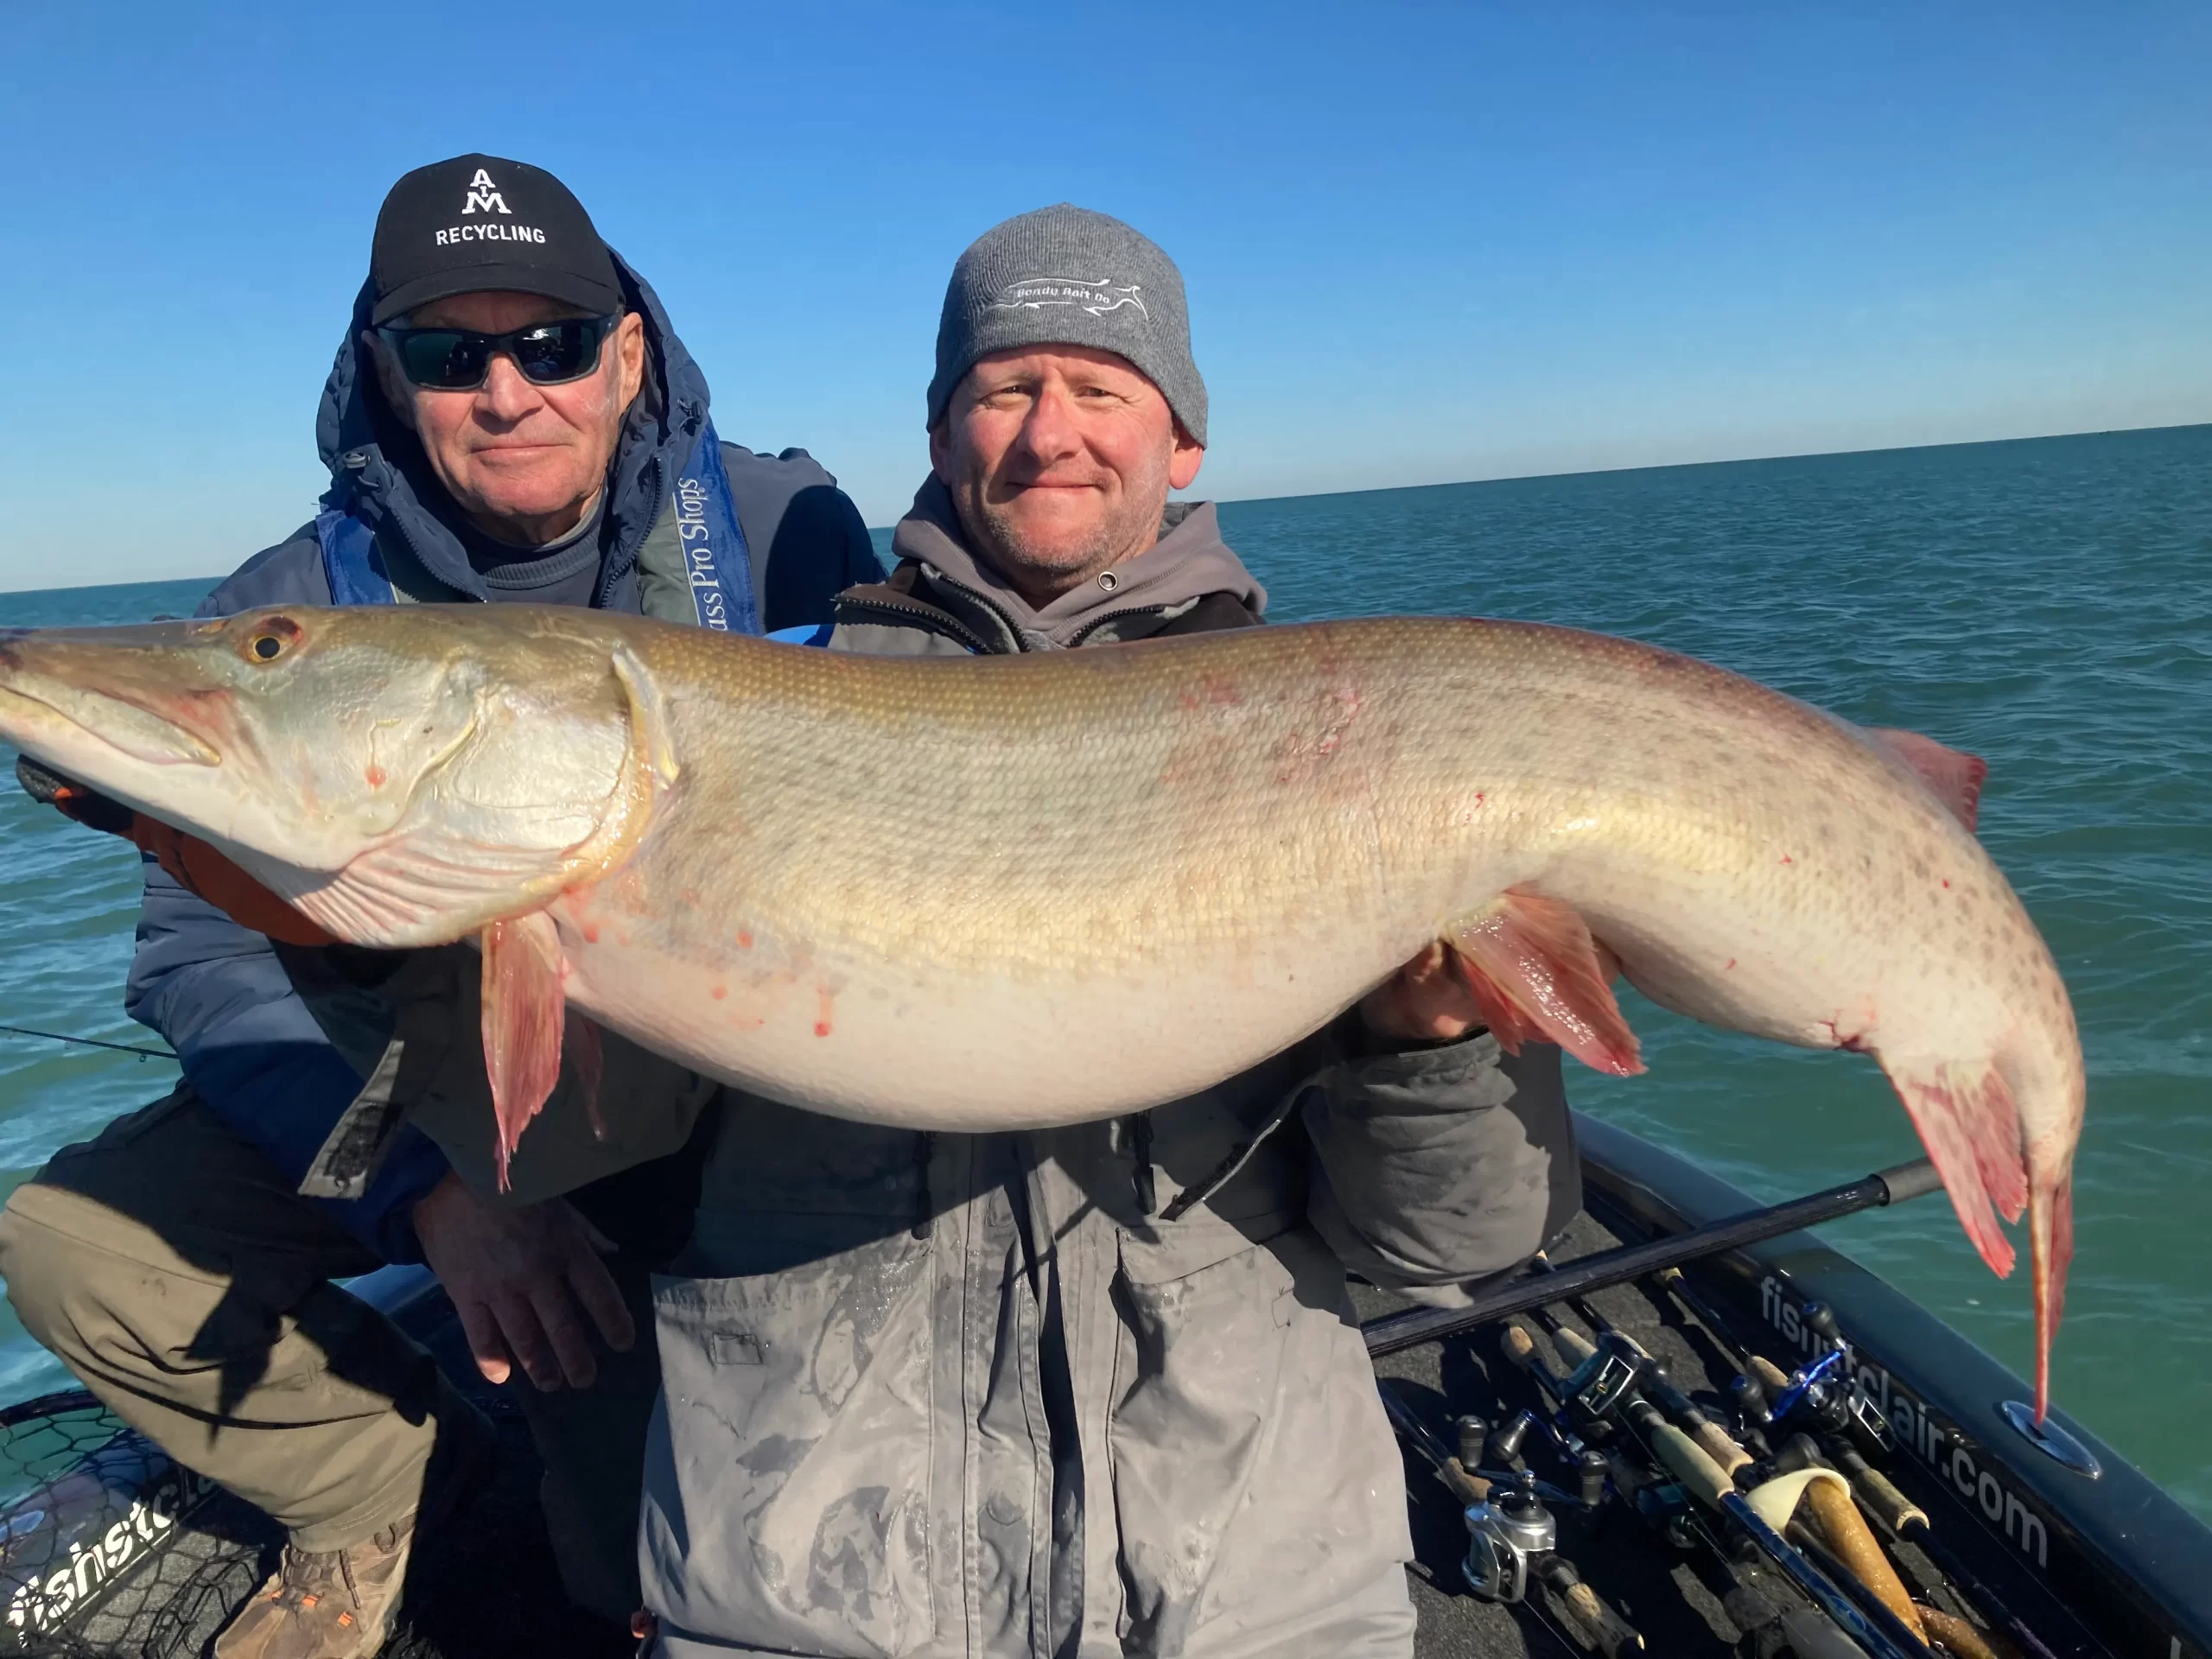
Lake St. Clair Muskies with Jon Bondy
* This page contains affiliate links. The Great Lakes Fisherman may earn a commission on items purchased through these links. For more on this, please click here.
Muskies are one of the toughest freshwater fish to catch. In fact, list after list, published by many popular internet sources (guidesly.com, insidehook.com, & wideopenspaces.com to name a few), consider muskies to be one of the toughest fish to catch in the world. And if you’ve ever tried to catch one, you probably agree.
Why Musky are Hard to Catch
There are several main reasons why muskies can be so difficult to catch. Being among the largest freshwater predator fish in the world, their population density is among the lowest. This means that with no knowledge of where they hang out, the odds of a musky seeing your bait is extremely low.
Of course once they do see your bait, they need to believe it’s prey and that is another challenge in and of itself. Although the fish can be very aggressive at times, there are right ways to present a bait that will significantly increase your odds of getting bit.
And even when you do finally get a musky to bite, the physical battle begins and you have to get it in the boat. This is another challenge entirely. These fish have large, sharp teeth and their head shakes can span 8 feet or more. They can, and often will, jump out of the water entirely in an effort to throw the bait. This means preparation and having the right tackle plays a large role in your success.
Lake St. Clair’s Musky Fishery
Lake St. Clair is a top musky fishery on just about every musky angler’s list. In fact, some would consider it the best they have ever fished. The lake has an average depth of 11 feet, but can get as deep as 30’+ in the shipping channel which connects the St. Clair River delta to the mouth the Detroit River.
Outside of the shipping channel are large undulating “flats” that vary in both depth and weed cover. These weed beds are home to a whole slew of fry and baitfish and there is almost no place in the lake where you won’t mark fish. It is truly a fish sanctuary.
Methods for Catching Lake St. Clair Muskies
There are 3 popular methods of fishing for musky on Lake St. Clair: trolling, casting and jigging.
Trolling is probably the most popular method for catching muskies and is the most recommended for folks that are new to the lake. This method involves the use of large body baits and bucktails trolled at a fast speed (3-5 mph) over areas that hold muskies. At these speeds, this method allows you to cover a lot of water, making it very effective for those less familiar with the lake. (Note that weed management can be a challenge and having a rig that keeps weeds off of the lure is important).
Casting bucktails is another popular method here. If you are more familiar with the lake and have the stamina, seeing a fish follow your bait to the boat can be exhilarating. In order to make this method payoff, it helps to have some familiarity with the lake so that you are working areas that you know will hold musky. This method involves a lot of physical effort and is not for the faint of heart.
A third method that has grown in popularity in recent years is jigging for musky. This method involves using a jig that is specifically made for muskies and working it along areas that are known to hold them. This method can also be physically demanding but has become one of the most exciting ways to hook big fish. (See video link below for more on jigging for muskies).
Q&A with Jon Bondy
To learn more about musky in Lake St. Clair, The Great Lakes Fisherman caught up with Jon Bondy. Jon is well known both locally and nationally as both a guide and as the owner of the Bondy Bait Company, Inc.
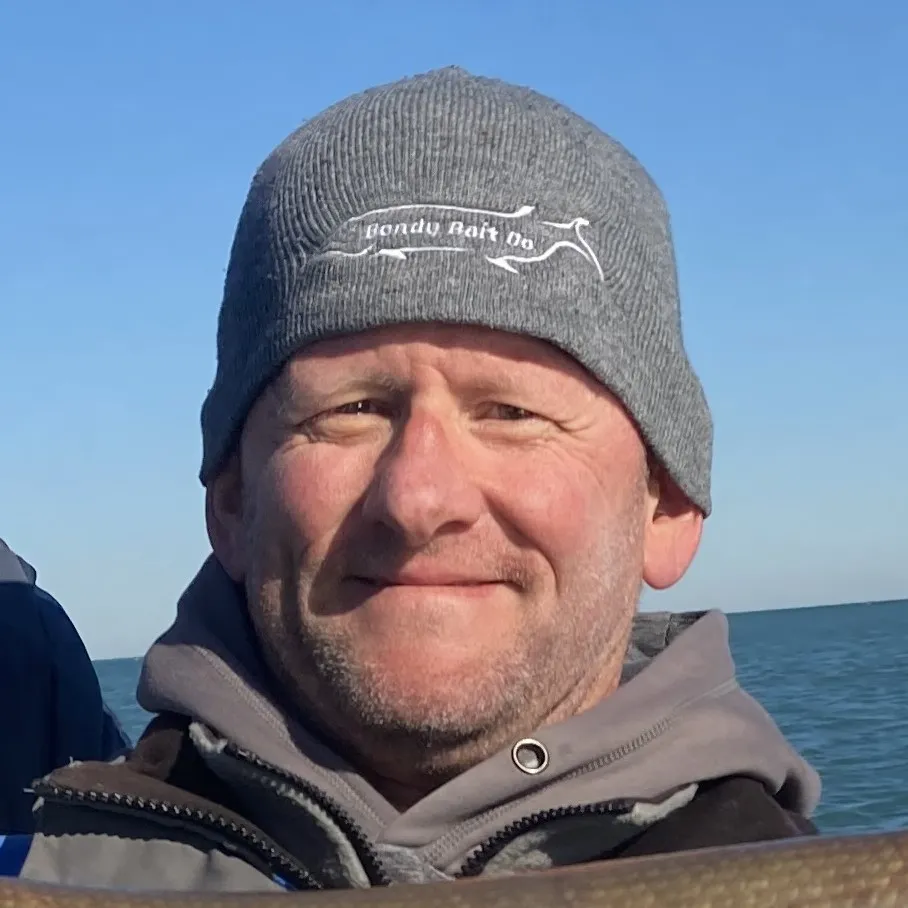
GLF: How did you get into the sport of musky fishing?
I grew up fishing for everything that swims. From gar and carp to musky. Musky always seemed like something that I hoped to go out and catch but considered them rare as a kid. As I grew older my interest in them grew as well.
GLF: How long have you been fishing for muskies on Lake St. Clair?
I started targeting musky probably in the late 80’s when I got a small boat and actually made my first musky lure back then. It was a fluorescent orange jerk bait I made out of a piece of a hockey stick.
GLF: How long have you been a musky guide?
I’ve been a multi species guide for 29 years. The first 4 or 5 years I guided only for bass and walleye but people kept requesting that I take them out to cast for musky so I added that about 25 years ago.
GLF: Muskies are said to be the fish of 10,000 casts. Would say that number holds true on LSC?
If that were a true ratio I think we would have all quit years ago! I do a lot of jigging and average 20 to 22 hops per minute. With 2-3 anglers jigging together we average 3-4 musky a day landed. But a lot of that depends on the customers’ ability to get them hooked properly.
GLF: Do the muskies on LSC seem to have a preferred forage prey?
I think their preferred prey is gizzard shad. The lake is full of them, but they’ll eat anything in front of them. I have had them eat my smallmouth bass I was reeling in at least twenty times.
GLF: The Great Lakes have undergone significant environmental changes over the last couple of decades, especially in terms of water clarity. Have you noticed any trends in musky catch rates that seem to correlate with these changes?
As with all sight feeding predators, the fish have gotten more numerous and bigger. Of course the prevalence of catch and release may have played a huge roll in these numbers. There are more weeds for the fry to hide in now too so that could result in more fish in the system reaching maturity.
GLF: Which method for catching musky do you find to be the most exciting?
Jigging is my favorite. Getting a bite directly under you using braided line that has no give is the closest thing in fresh water you can find to shark fishing. Unlike casting where you can often see the fish following the lure, the bites you get when jigging are violent and can happen at any time. Usually it surprises my clients when it happens. You just have to be ready.
GLF: In your experience, which method produces the highest numbers of fish?
Most people would say trolling but If you take the number of lines in the water and man hours I’d put jigging up against anything. It just takes a lot of work to do it all day.
GLF: Which method produces the largest fish?
Almost all of my biggest and fattest fish come jigging so I’m a little biased towards that. But it could be the type of fishery I’m on.
GLF: What type of structure, depth, etc. do you look for when targeting musky on LSC?
In mid summer I’m out on St. Clair casting in the open water. In this case I’m looking for subtle bottom changes. From clay to sand etc or weedy areas where there seems to be a lot of life overall. Often the areas full of fish will have sturgeon feeding in the area.
GLF: What is your personal record for the most muskies landed in a day?
That would be 19. I’ve had plenty of 12-15 fish days but they are rare.
GLF: When does your season for guided musky trips start and how long does it run?
Starts the first Saturday in June and goes to December 15 if the ice doesn’t lock us up before then.
GLF: Do you guide for anything besides musky?
Bass and walleye primarily but can target anything that swims.
GLF: Where can people go to learn more about your business or to book a trip with you?
GLF: If you had to recommend just one bait style and color combo from your line of musky baits, what would it be?
A pearl Bondy Original is the one bait every angler should have.
GLF: Is there anything else you would want readers to know about musky fishing in Lake St. Clair?
Be prepared to catch one, by having the proper tools, net and puncture proof gloves. Long needle nose and hook cutters are a must. Get the fish back in the water as soon as possible, especially in the summer time when they are stressed out.
Releasing Musky
Jon’s last answer above warrants some additional discussion on the release of musky. With musky on Lake St. Clair being a catch and release fishery, it cannot be over-stated how important it is to release the fish properly. Getting the fish back to the water as quickly as possible is voital to their survival. Unlike small fish, large fish don’t handle lack of oxygen very well. For more on releasing muskies the right way, check out this article by Midwest Outdoors.
The Great Lakes Fisherman appreciates Jon taking the time to answer some of our questions and helping shed some light on the various aspects of musky fishing on Lake St. Clair. If you enjoyed this article, or if you have topics that you would like to see covered on The Great Lakes Fisherman, feel free to drop us a comment below.
How to Tie a Stinger Hook
* This page contains affiliate links. The Great Lakes Fisherman may earn a commission on items purchased through these links. For more on this, please click here.
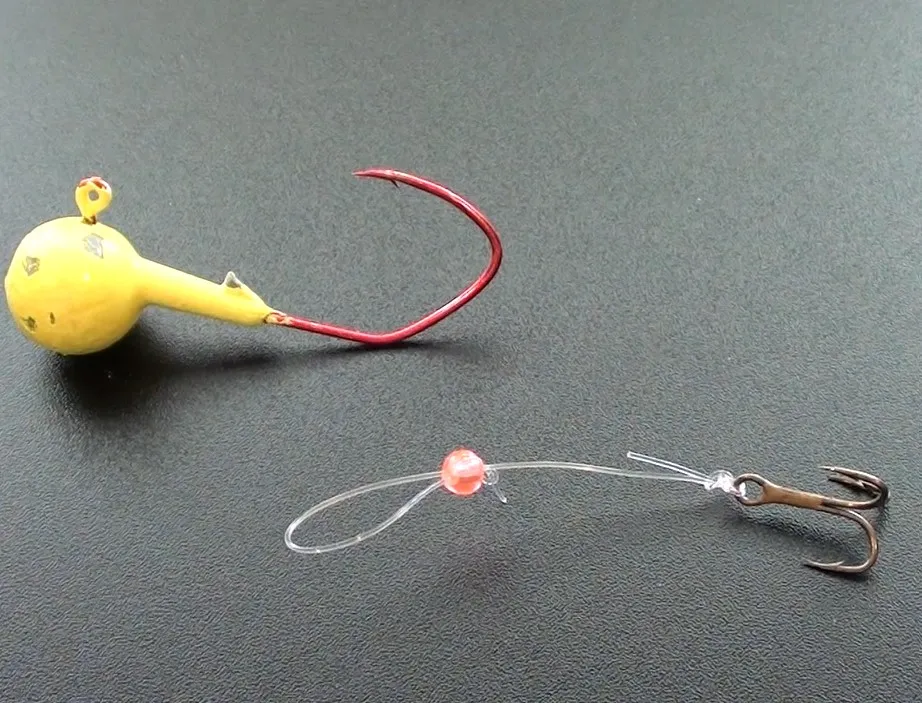
There are many different ways of attaching a stinger hook to your line. Some contain a single hook, others use a treble hook. Some use crimps, others use knots. But I have found a way to make a stinger hook that works very well and it has an advantage that many do not. And the best part is that they are super cheap to make at home. (Note that the stingers in this post are sized specifically for walleye jigs, but they can be adjusted to fit just about any fishing application that requires a stinger hook!)
The Materials
In order to make these stinger hooks, you need a few cheap supplies. The good news is that they supplies will produce the stinger hooks for less than $0.60 each!
First you will need some hooks. I prefer treble hooks and you can purchese these for about $0.5 each. Next you will need some line. I prefer Berkeley big game in 20 lb. test for walleye, you can adjust as necessary to fit your application. Line can be purchased in large quantities and if you use a foot (including waste), the line cost will be less than a penny per rig. The last thing you will need is some craft beads in whatever color you’d like. I like metallic colors like copper and silver but you can also choose colors that blend with your bait colors. The hole in these beads needs to be just big enough to allow the line to pass through it twice. These can be purchased at any craft store and will cost just a few cents each.
A Tying Jig
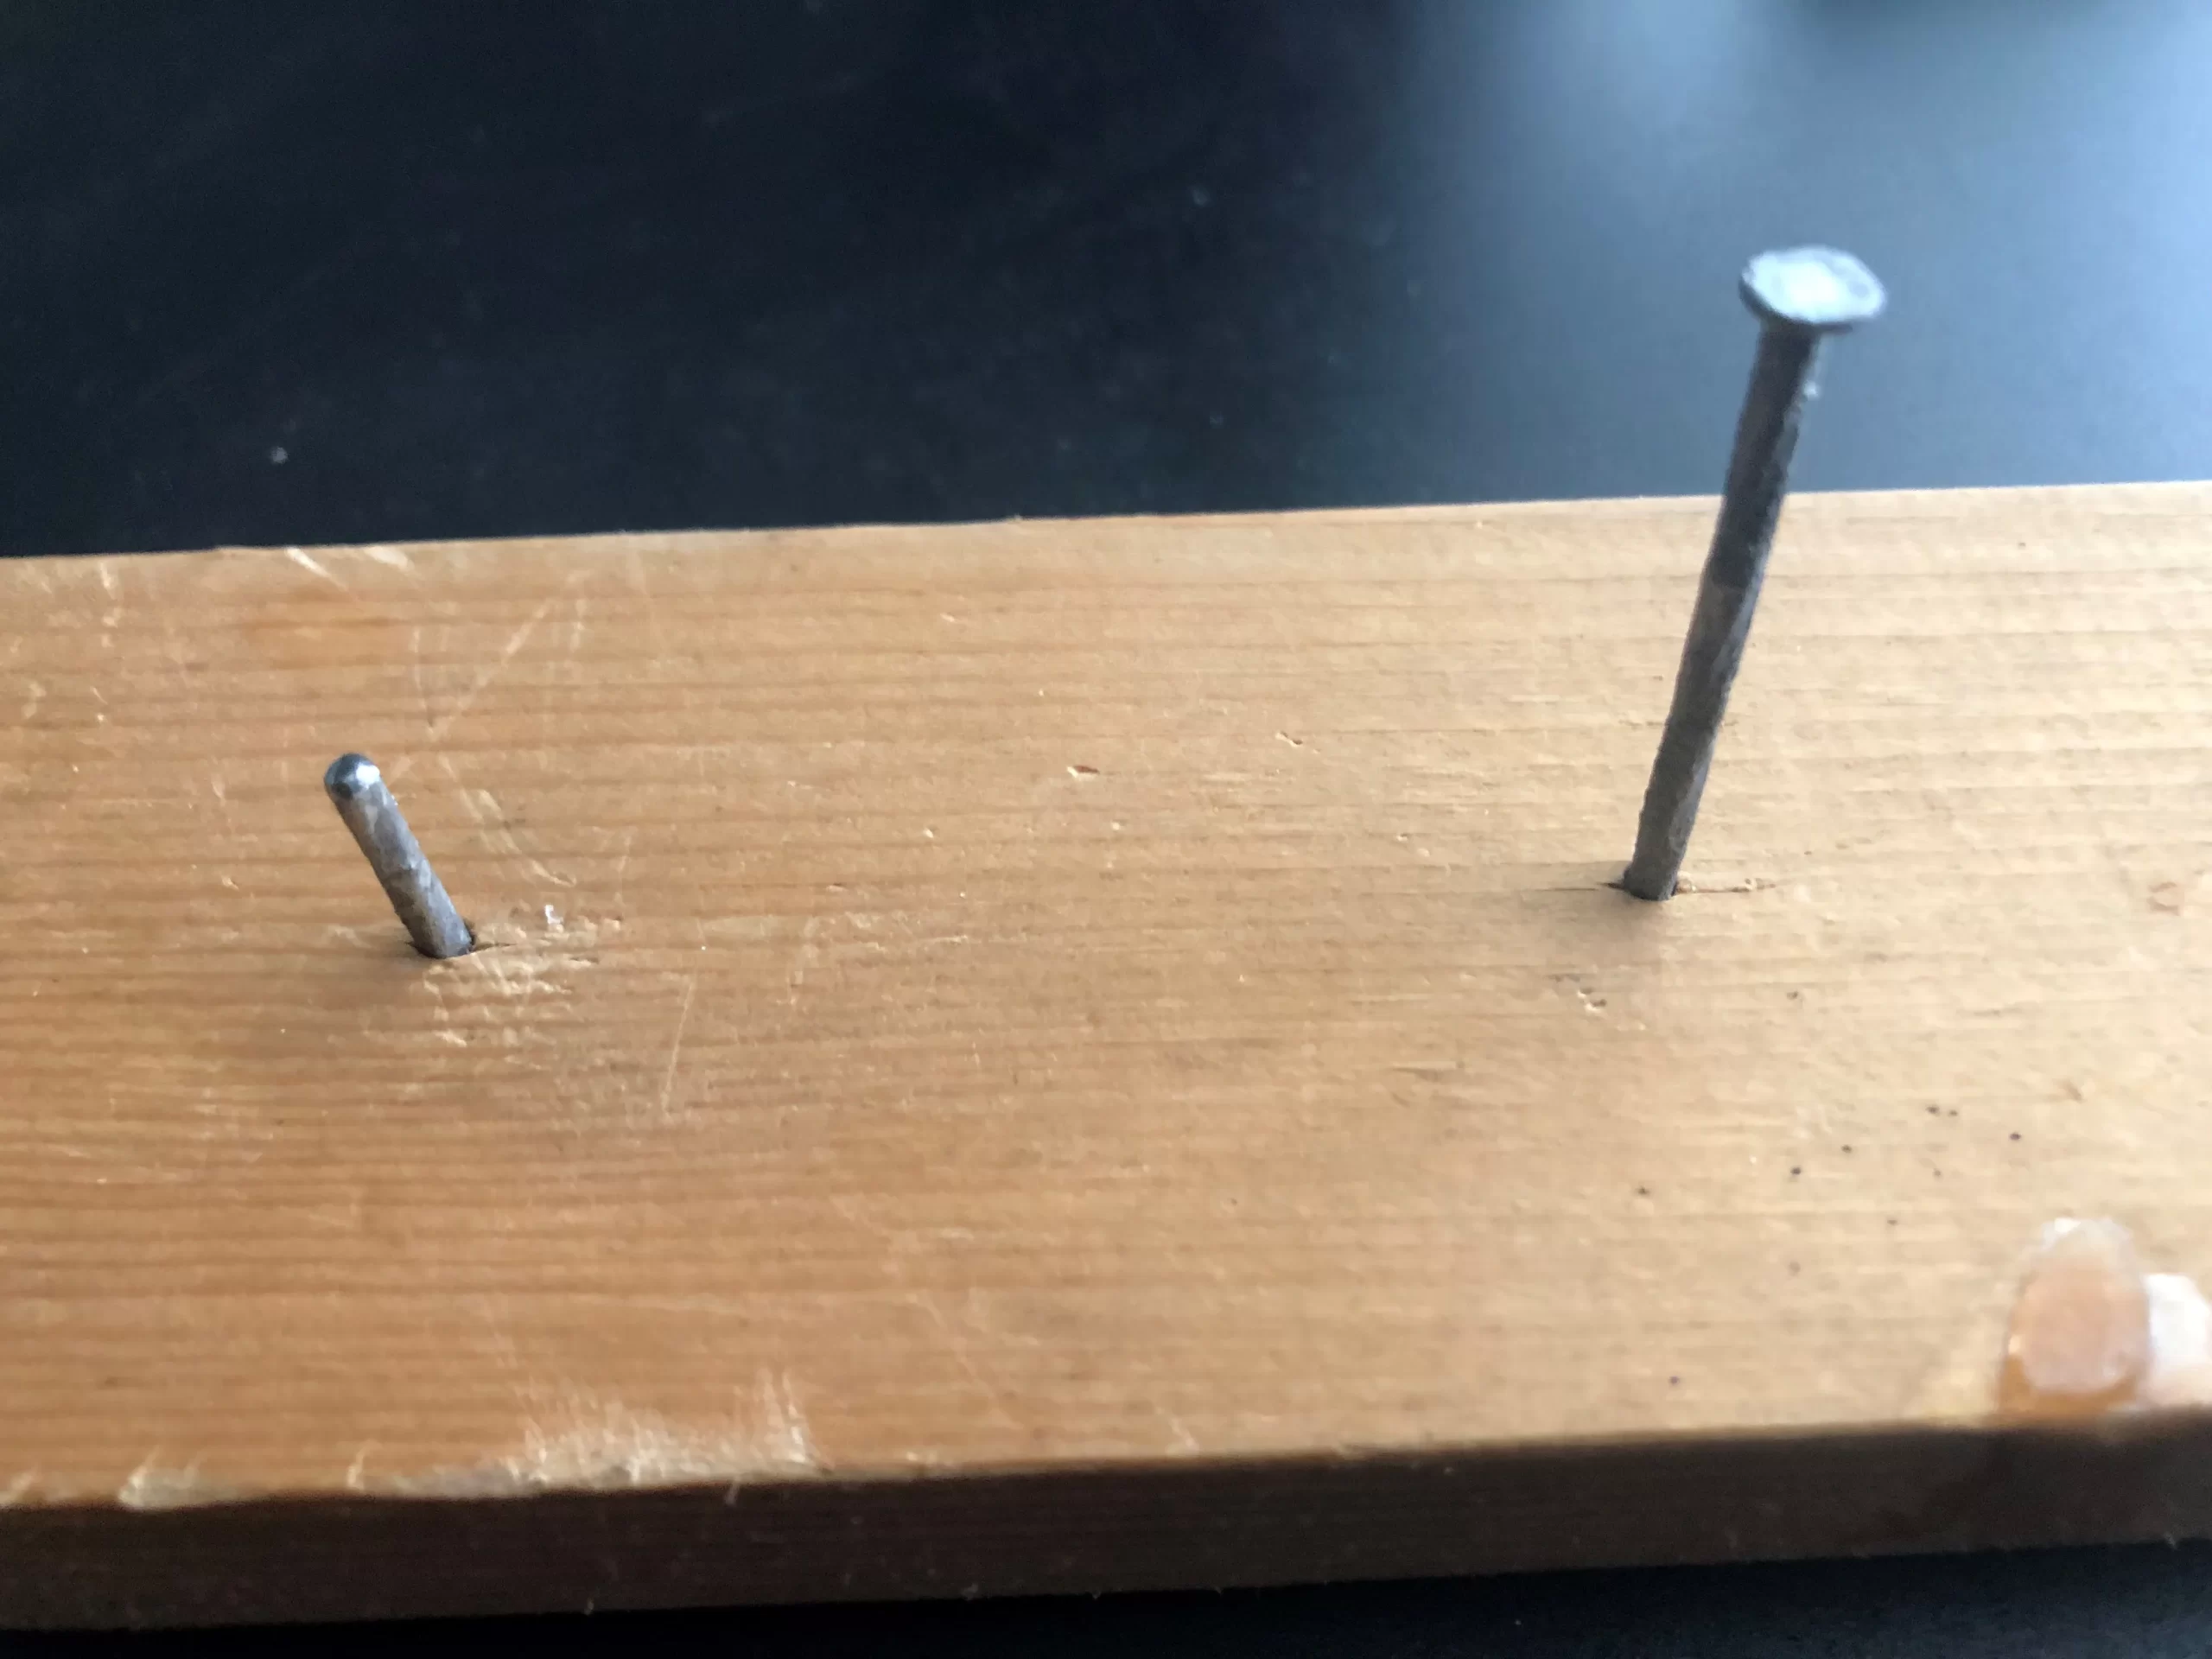
The next thing you will need is a jig to tie up your stinger hooks. The commonly used jig for this is simply a scrap piece of wood with two nails driven through it about 2 1/2 inches apart (or whatever distance is required for your bait to put the stinger near the tail of your presentation). This ensures a consistent length for all of your hooks.
Making the Stinger Hook
Here is the process for making the stinger.
Step 1: Cut a 1′ length of line.
You can reduce this once you get used to tying the leader, but I would start with 1 foot to give yourself plenty of extra line to handle it easier.
Step 2: Tie the line to a treble hook.
I prefer to use a palomar knot, but feel free to use the knot of you feel is the strongest.
Step 3: Slip a bead on the line and then back through.
Slip the bead onto the end of the line and then back through the same end it came out of. This will result in a loop in the line on one side of the bead and the hook and tag end on the other side of the bead.
Step 4: Place the loop on one nail and the hook on the other nail.
Now place the loop of line on one of the nails and the hook on the other. Being right-handed, I prefer the hook on the right nail and the loop on the left nail, but whatever works best for you is what you should do.
Step 5: Pull the tag end of the line tight.
Now pull the tag end of the line tight so that the bead is cinched down to the nail.
Step 6: Start an overhand knot in the tag end of the line.
Now start an overhand knot in the tag end of the line but don’t tighten it (leave an open loop).
Step 7: Cinch the line tight to the bead, while keeping the entire rig taught.
Insert a pin, nail or some other smooth, thin object into the loop and then cinch the knot down towards the bead, keeping the entire rig tight while you do so.
Step 8: Clip the tag end of the line and remove the completed stinger hook from the jig tool.
You are done. It’s that easy! If that was hard to follow, here is a video on how to do it.
Advantages of this Stinger Hook
The biggest advantage of tying this stinger hook is the ability to easily add it to you line or remove it. To add it to your jig hook, simply slip the loop over the ond of the jig hook and then pull on the treble hook to cinch it down. To remove the stinger hook from the jig, grab the bead and gently pull back toward the treble hook to open the stinger loop and remove it from your jig hook.
One of the biggest advantages of this is to be able to quickly remove the stinger when tipping your jig with a minnow. By putting the minnow on the jig first and then adding the stinger afterwards, the stinger acts as a sort of retainer, keeping the minnow on the jig and not allowing it to slip off. Not only does this ensure that the minnow stays in the strike zone longer, but it also saves money on minnows!
Detroit River Walleye
* This page contains affiliate links. The Great Lakes Fisherman may earn a commission on items purchased through these links. For more on this, please click here.
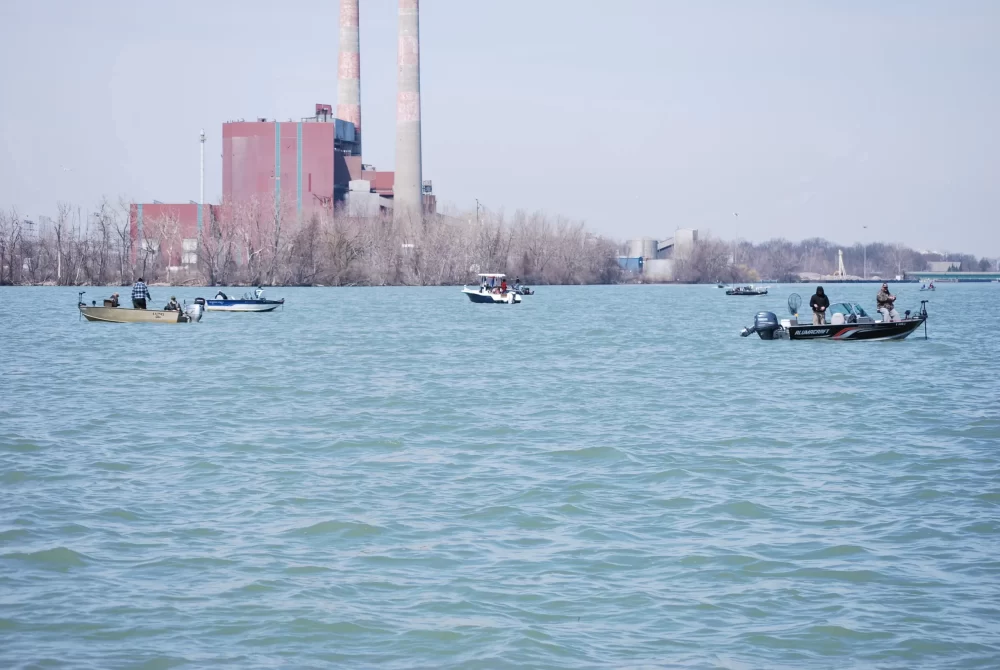
Detroit River walleye fishing is a staple for many that live in the Detroit area. But believe it or not, folks come from all around the region and even remote parts of the country to take advantage of this incredible fishery. When the spring spawning runs begin, it can be fast action with many folks limiting out in an hour or two. Of course, this is no guarantee and it takes some know-how to make the proper adjustments to be successful. Here, we will discuss how to catch Detroit River walleye during the spring spawning run.
Timing
As with most types of fishing, timing is everything. Walleye begin their spring migrations into the river when the water temps reach the mid-30’s. Spawning peaks when temps reach the mid-40’s. For the Detroit River, this typically happens in early to mid April, but can vary from year to year. The general rule of thumb is, when April arrives, so do the walleye!
Where to Fish
During the spring runs, fish can be found just about anywhere in the river current. Water clarity can have a large impact on where the fish will be and what they can be caught on. If you are new to the region, a good starting place is to fish where you find concentrations of boats. This may be intimidating at first as the boats can be jammed up pretty close together. But don’t let this stop you! Simply start out just outside the pack until you get more comfortable with the program and then slowly start integrating. If you just don’t like fishing near the crowds, there are fish to be found throughout the river, it may just take a little more trial and error to find them.
Vertical Jigging
The main method used to catch Detroit River walleye is vertical jigging. This method can be used anytime of year on the river, but is particularly effective during the spring spawning run. First, let’s talk about the jigging setup.
The Rod/Reel
The ideal rod for walleye jigging should be a medium action graphite rod with a fast action tip. The fast action allows for a wider range of speed on the upstroke of the jig cycle. Most folks prefer a rod that is 6-7.5′ in length. Simply pair this with a good spinning reel and you have what you need.
Main Line
While monofilament will work, most experienced fisherman on the Detroit River use braid for their main line. The low-stretch property of braid allows you to feel the bottom better and detect the lighter bites, especially on the fall of the jig stroke. In addition, the braid will help provide a better hook-set. This is important as walleye have tough mouths.
The Leader
When using mono, leaders are not a must, but a lighter leader line will help break off your jig easier when you find a stubborn snag. The Detroit River is full of rocks, and snags are inevitable. You should expect to lose a few jigs every time out.
If you use a high-strength braid for your main line, a leader is a must. A 4 foot piece of 6-8 lb. flourocarbon line is recommended, due to its low-visibility properties but copolymer or monofilament will work as well. This lighter leader will break more easily when you find a snag, rather than having to cut your braid and losing a bunch of line.
The Jig
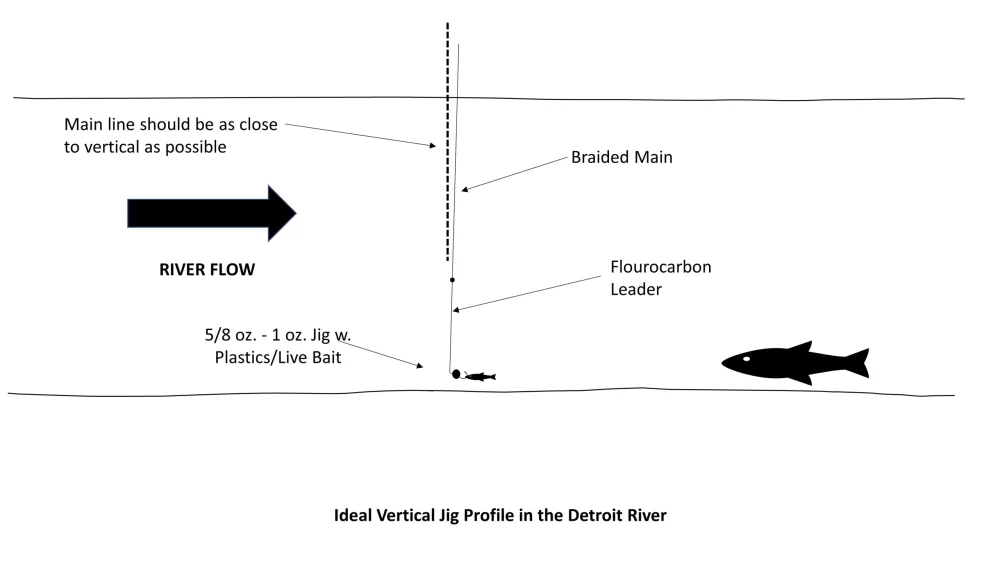
Most fishermen tend to use jig weights that range from 5/8 oz. to 1 oz. The idea is that you want the lightest jig that will keep your line veritcal and feeling the river bottom.
As far as jig color goes, it will depend on the day. If the water is cloudy and visibility is very low, start with a bright-colored jighead like chartruese, pink or red. On days when the water is clear, try a jig head color that matches your bait. More natural color patterns tend to work better on these clear-water days (blue-ice is good one to try).
And keeping your jigs sharp is important. The conditions at the river bottom will be hard on your tackle. Your jig hooks should be checked for sharpness periodically. A few strokes of a simple hook file is all you need to keep them sharp.
The Bait
Bait tends to fall into 3 categories, plastics, live bait, or both. The best advice is to attach a plastic bait with the color pattern you think will be most appealing (blue ice and purple ice are common colors), but it never hurts to tip it with a live offering. Tipping your plastic bait with a minnow or nightcrawler can make a difference.
The Stinger Hook
Adding a stinger hook to your jigging setup only helps. It never hurts. Stinger hooks can be easily made at home and added to the jig to help get those short strikes. It can’t be overstated how important this is on the Detroit River.
Jigging Tactics
When it comes to jigging for Detroit River walleye, there are some tricks that make all the difference between success and failure.
Staying Vertical
Keeping your line perfectly vertical between your rod tip and the boat is the key to catching more fish. It allows you to feel the bottom and know exactly where your jig is. If you come into contact with the bottom on an angle, you may be scraping your jig across the rocks as you jig. Not only does this not impart a consistent jigging action on the bait, it greatly increases the chances of a snag and will wear the paint off of your jigs much quicker.
While keeping your line vertical may sound straightforward, it is easier said than done. This is because there are two main factors that will be working against you: the river current and the wind.
The river current is pulling your boat downstream. The problem is that the current at the surface isn’t the same as the current further down in the water column. Furthermore, different parts of the river have differing amounts of current flow. This means that no matter where you are, even with no wind, it is likely that your line will not be vertical.
Now consider the wind direction. The wind will be pushing the boat in the direction from which it is blowing. To make matters worse, the wind may gust which means that the forces acting against you will change continously while you are on the water.
All of this means that each day you go out, you will need to compensate for these differences by using your boat’s trolling motor to ensure that your line is as vertical as possible. This cannot be understated. Whomever is responsible for the trolling motor will have a large responsibility for the the success of the rest of the boat.
Staying vertical may sound overwhelming, but with a little bit if practice, making these adjustments will become second nature.
The Jig Stroke
The Upstroke
Now that you are vertical, let’s talk a bit about the jig stroke. The rythym and height of the jig cycle will vary with the conditions. In general, the fish will be less agressive in colder water than they are in warmer water. For spawning fish in the cold spring water, this means, shorter strokes are usually better than long. So the snap on the upstroke should be only about a foot. Remember that what seems like a little movement to you translates to a lot more at your rod tip, and thus to the jig. It doesn’t take much movement at the rod handle to get a foot at the jig.
The Fall
After snapping the jig off of the bottom, the jig will want to fall back down. It is not remmended to let the jig free fall for a couple of reasons. First, it doesn’t look as natural to the predator fish as the jig is mimmicking injured baitfish, which tend to run out of energy and flutter back to the bottom. Second, if you do get a bite on the fall, you likely won’t feel it if there is slack in your line.
Instead, control the fall by keeping the line tight as the jig falls. This will allow any bite on the fall to be easliy telegraphed to you, especially if you are using braided line. I never realized how many bites I was missing on the downstroke until I switched from monofilament to braid.
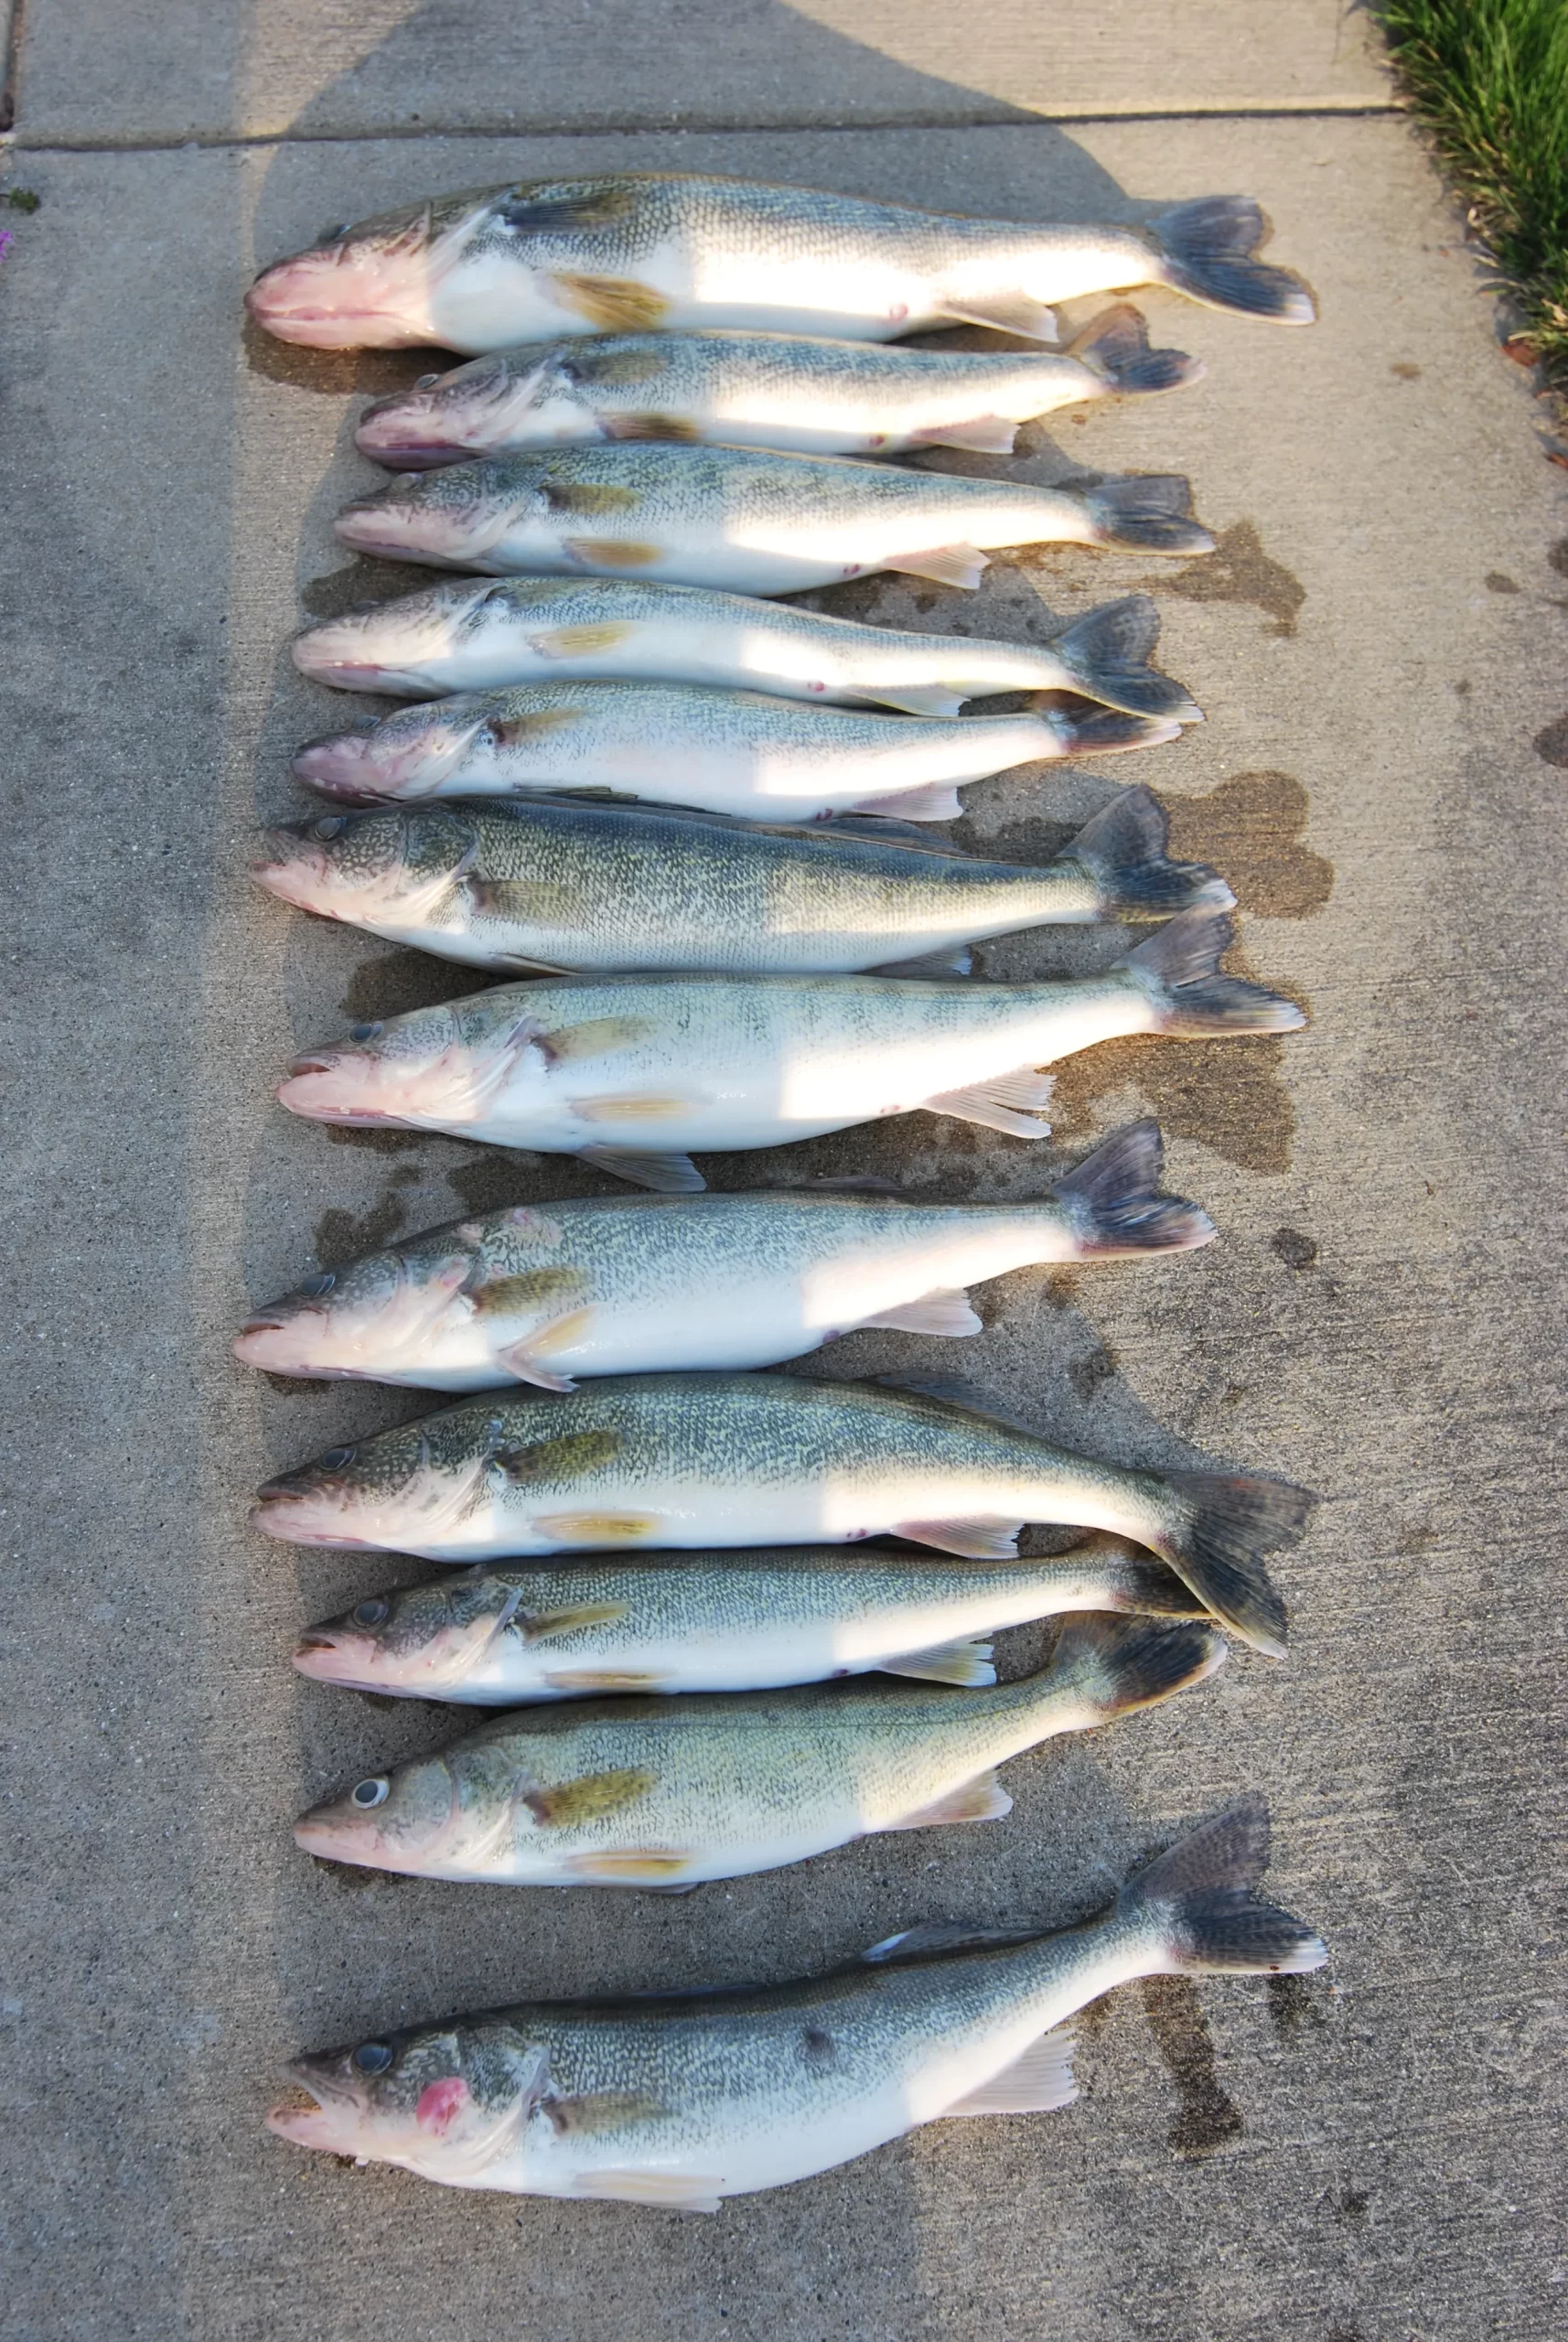
Now all that’s left to do is catch fish. Good luck out there!


))/4657592.json)
))/1729010.json)
